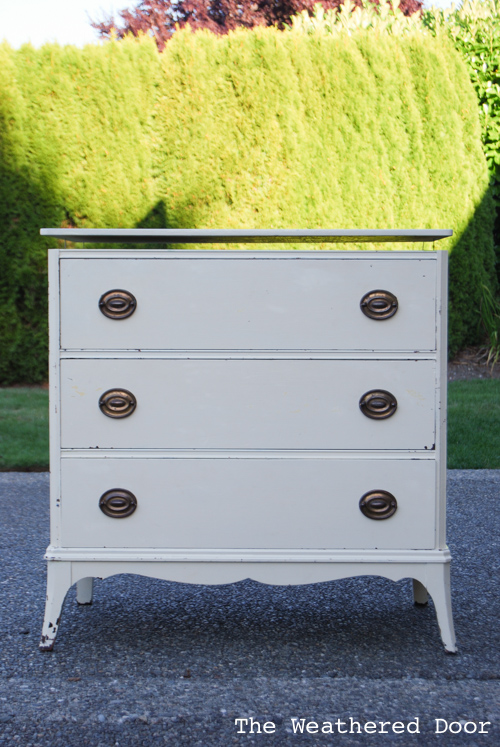
Are you ready for a new makeover? I know I am! This little 3 drawer Hepplewhite dresser was given to me by my neighbors at the end of last summer. They were moving out of the country and not taking it with them, and I happily obliged. Disclosure: this post contains affiliate links.
Stripping the hepplewhite dresser
Because it already had a few layers of paint I put it off. Finally a few months ago I began the stripping process. Before I continue I’m just going to say that no, I wasn’t just going to paint over the old finish. Even with “no prep” chalk paint or anything else, it needed to be removed in order to get a new smooth finish.
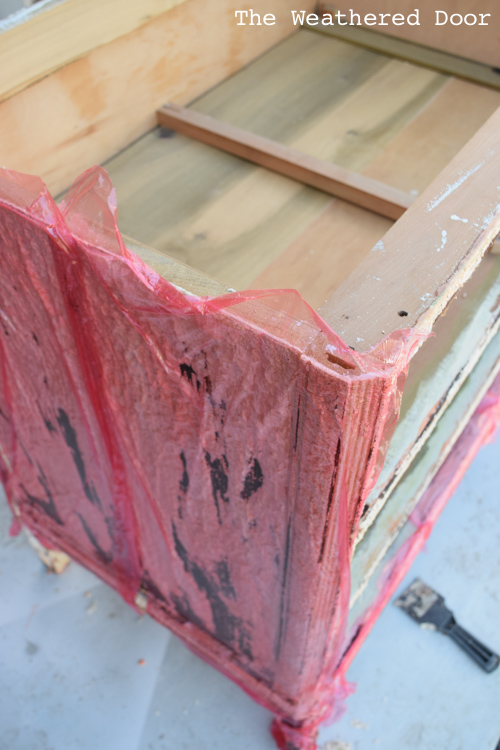
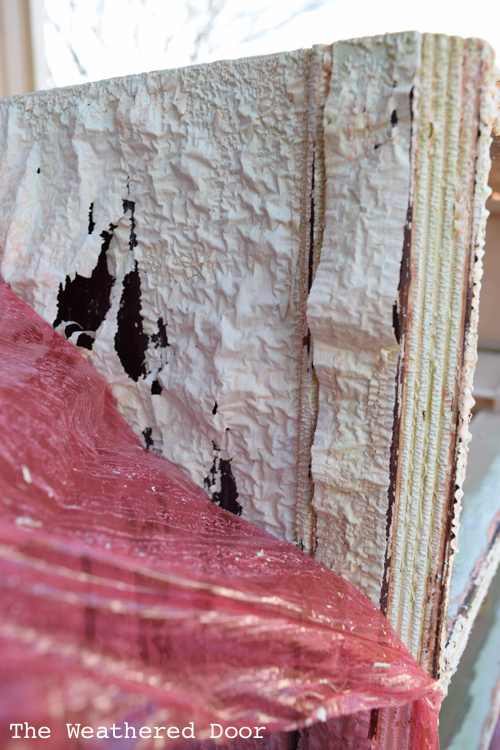
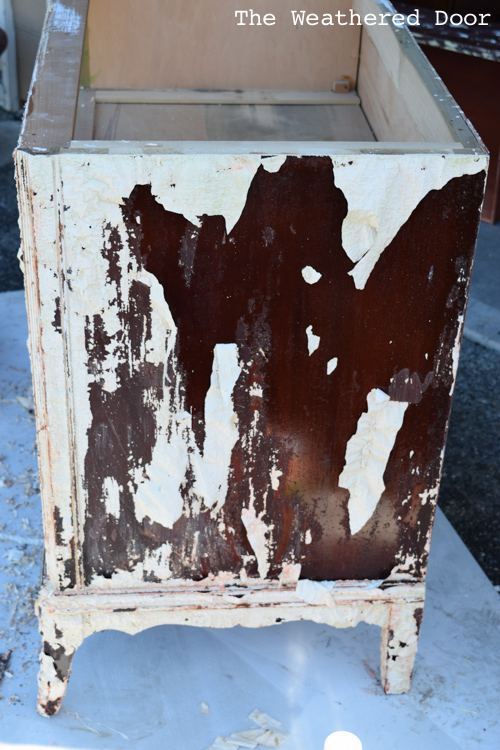
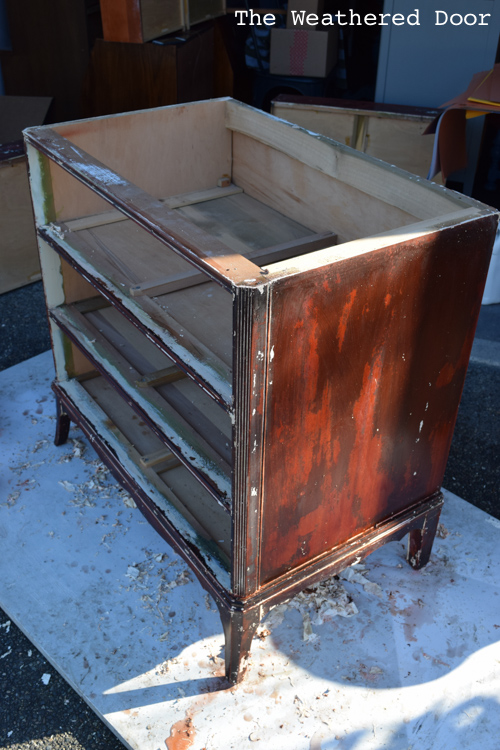
Stripping the 3 coats of paint meant 3 rounds of stripper. It was definitely a process which is why this one took so long 🙂 For stripping furniture I like to use Citristrip. ***I have video tutorial and detailed blog post on stripping painted and stained furniture here.*** Once I repeated that process 3 times and let the piece dry out I sanded everything down with 150 grit sandpaper. This piece is made of mahogany (except the top, which was replaced at some point with plywood) and I knew bleed through would be a problem so I primed it with 2 coats of a Zinsser Shellac. Once dry I sanded it and cleaned it off with a damp cloth before painting.
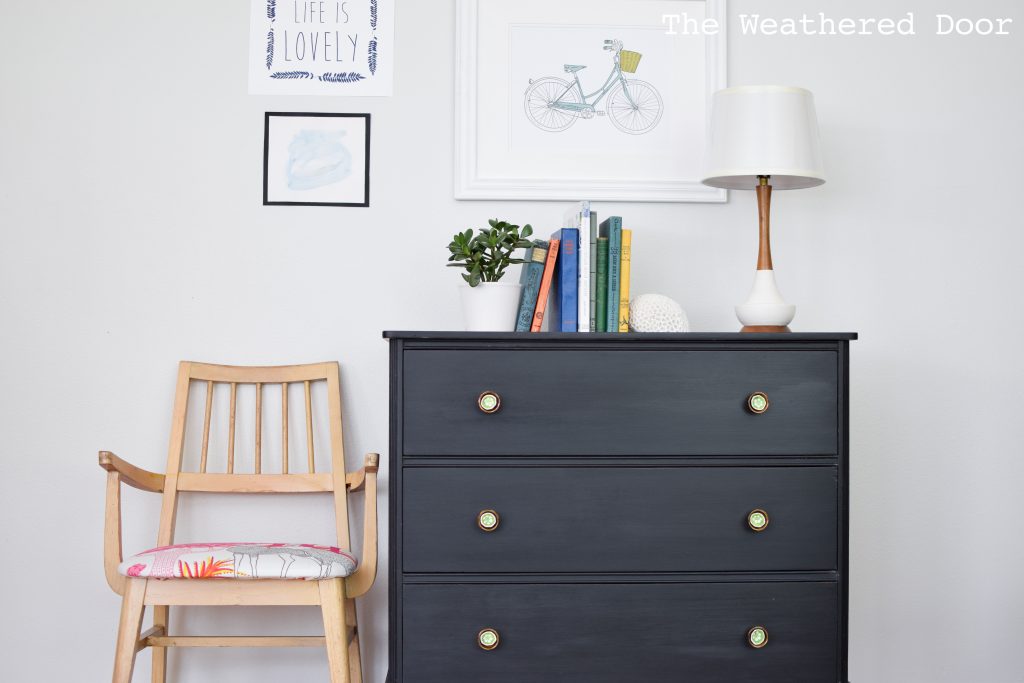
Painting with Milk Paint
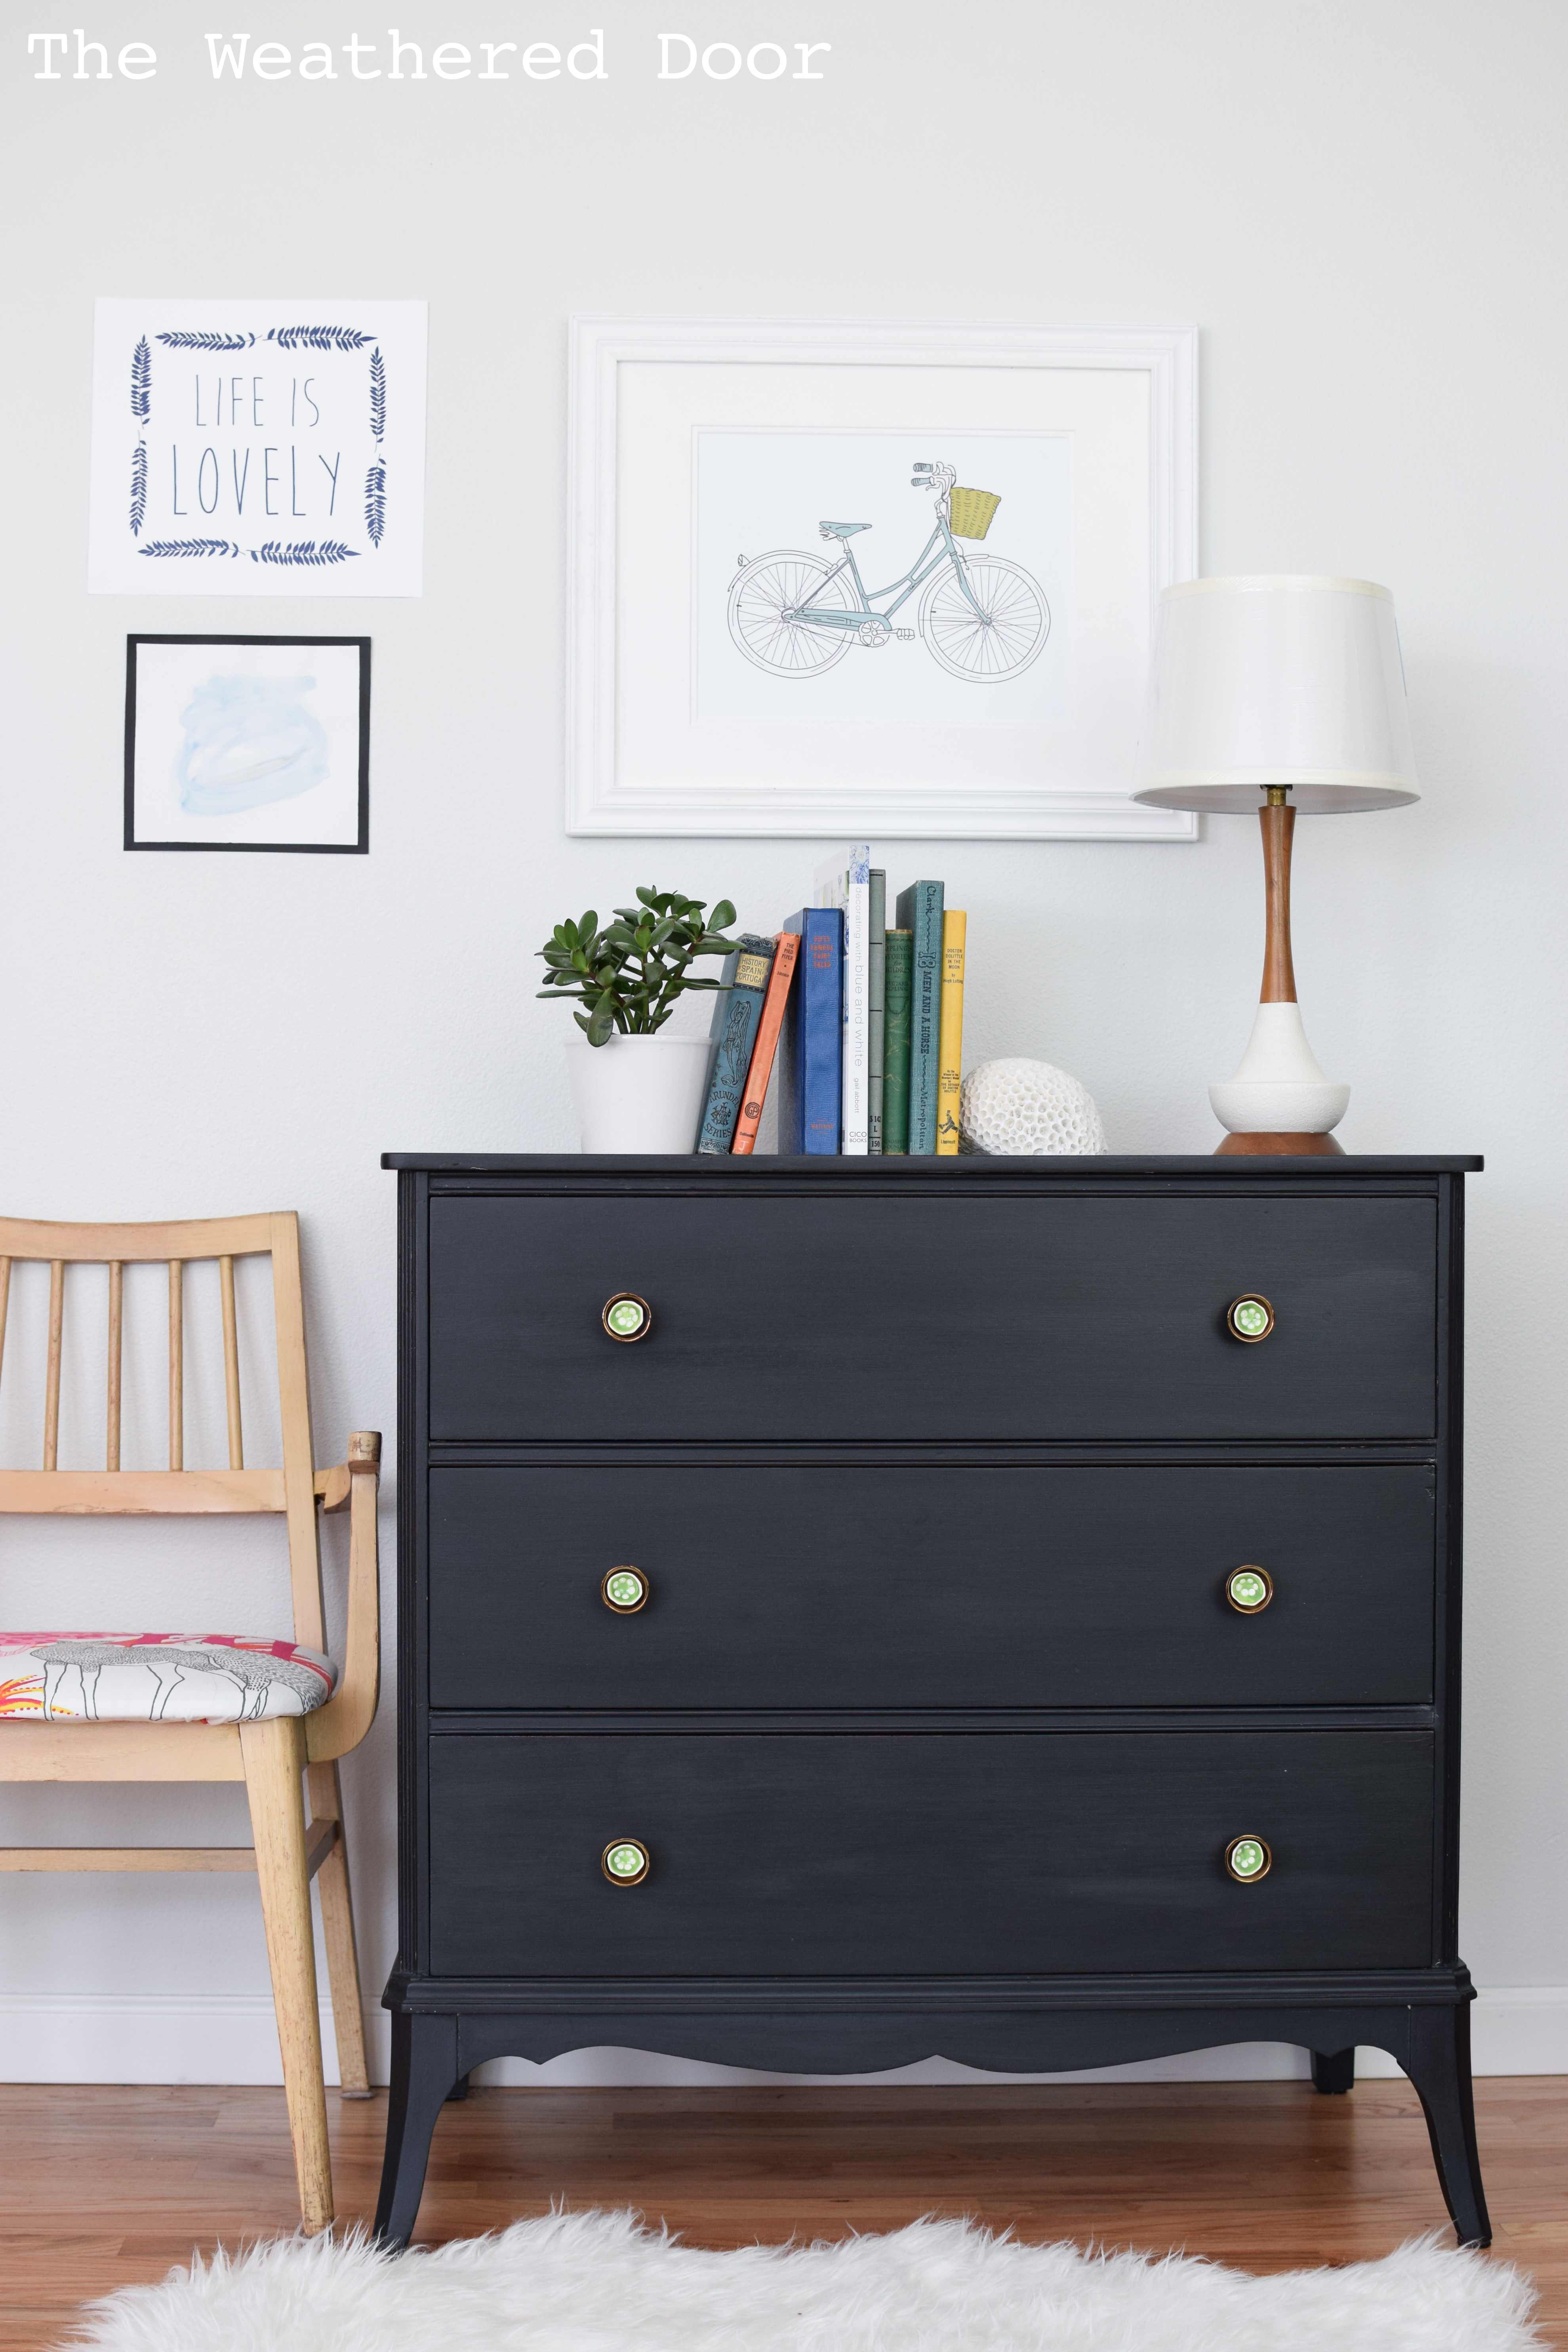
Based on the condition and style of the piece I decided to use milk paint. I picked black as since this piece is being used as a nightstand/storage piece in my bedroom. Black is neutral and works best for my space. I mixed up OFMP in ‘Pitch Black’ and painted on 2 coats. Old Fashioned Milk Paint Co. is my favorite milk paint. The pitch black color covers really well! When painting with milk paint I add the bonding agent for a clean finish with no chipping. After the paint dried for 24 hours I sealed it with General Finishes high performance topcoat (HPTC) in flat. Once the HPTC dried I used a high grit sanding sponge to smooth out the finish and then added some of GF’s Satin Wax to even out the whole finish even more. I knew I wanted to add new hardware to this piece. Luckily I keep a stash of cool hardware so I put on 6 brass and green knobs from Anthropologie.
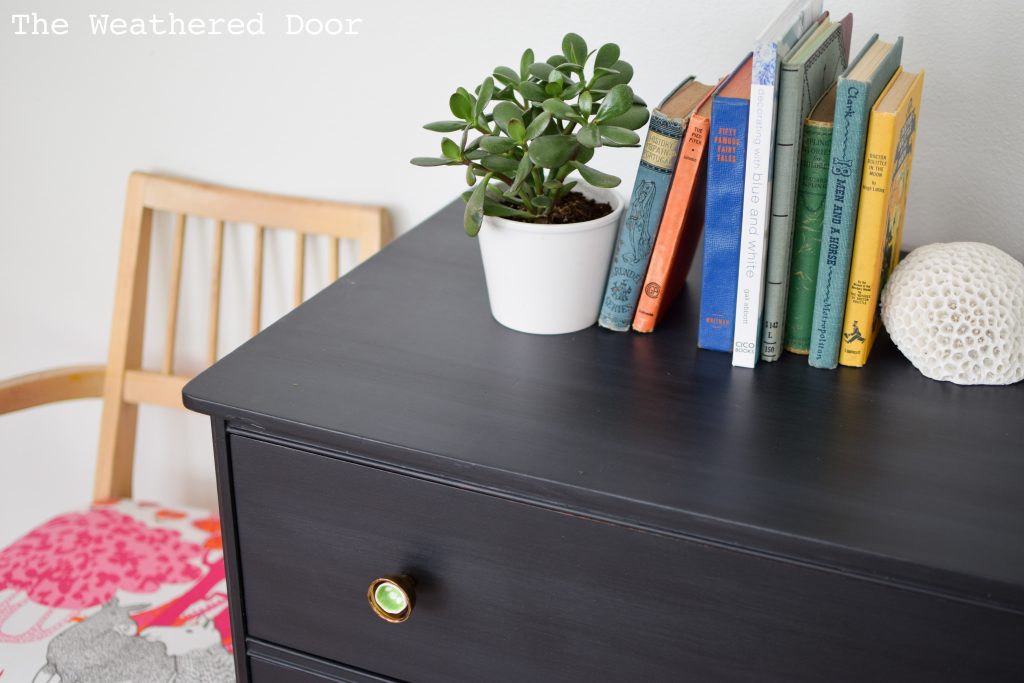
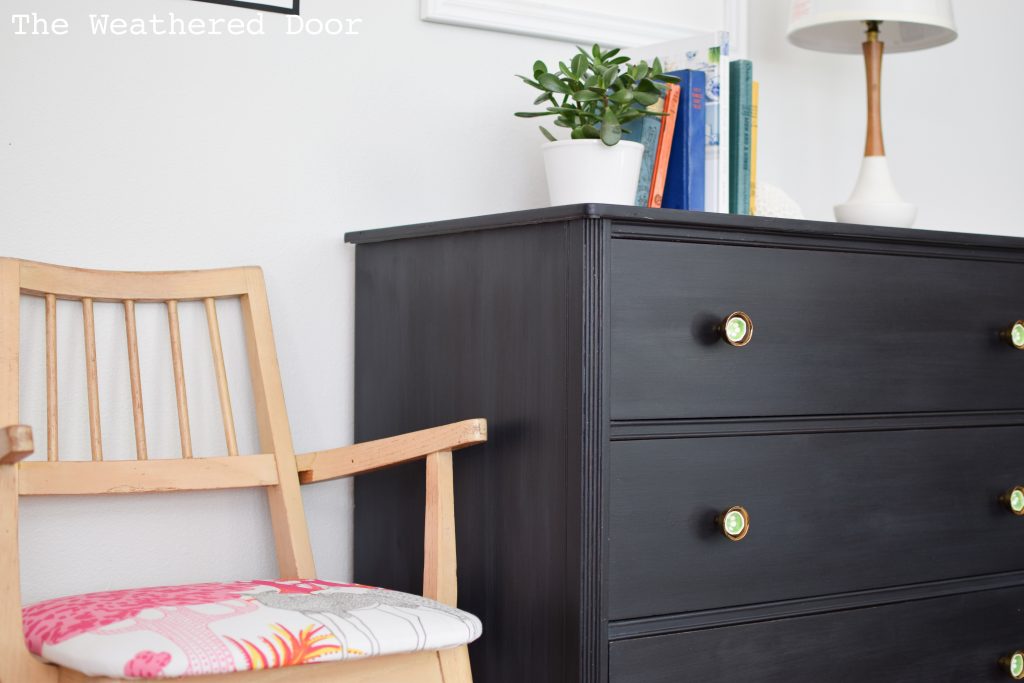
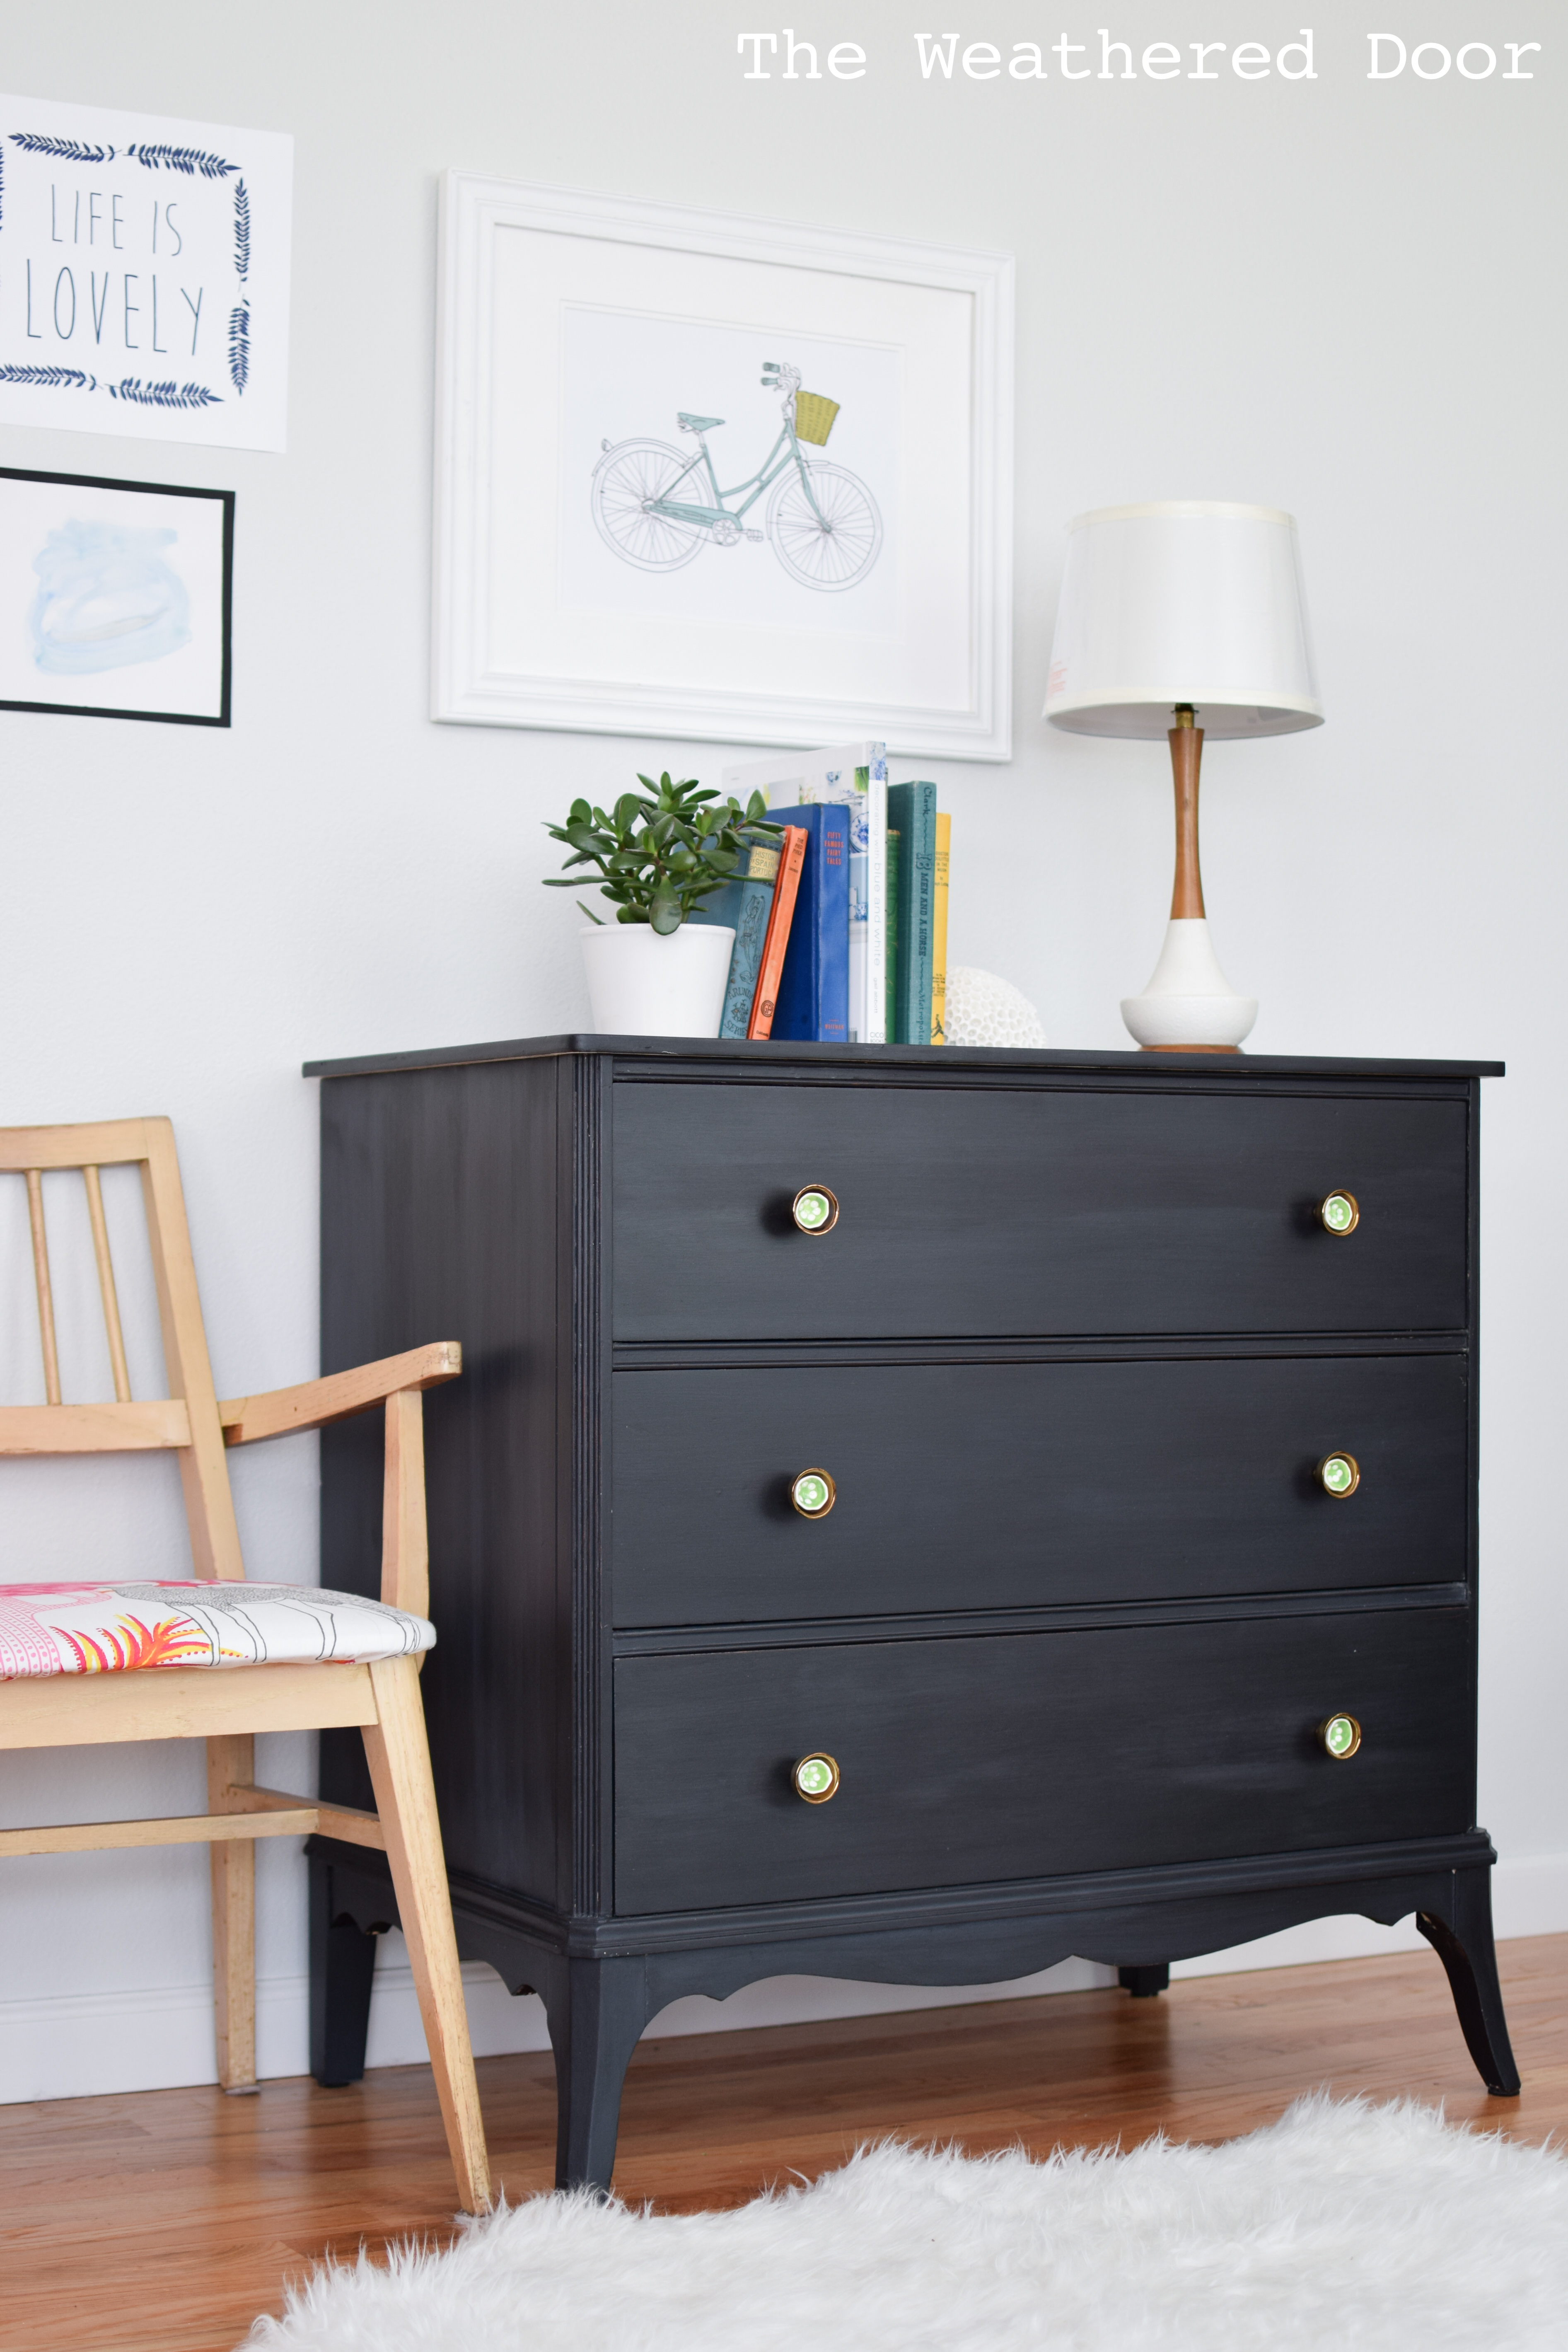
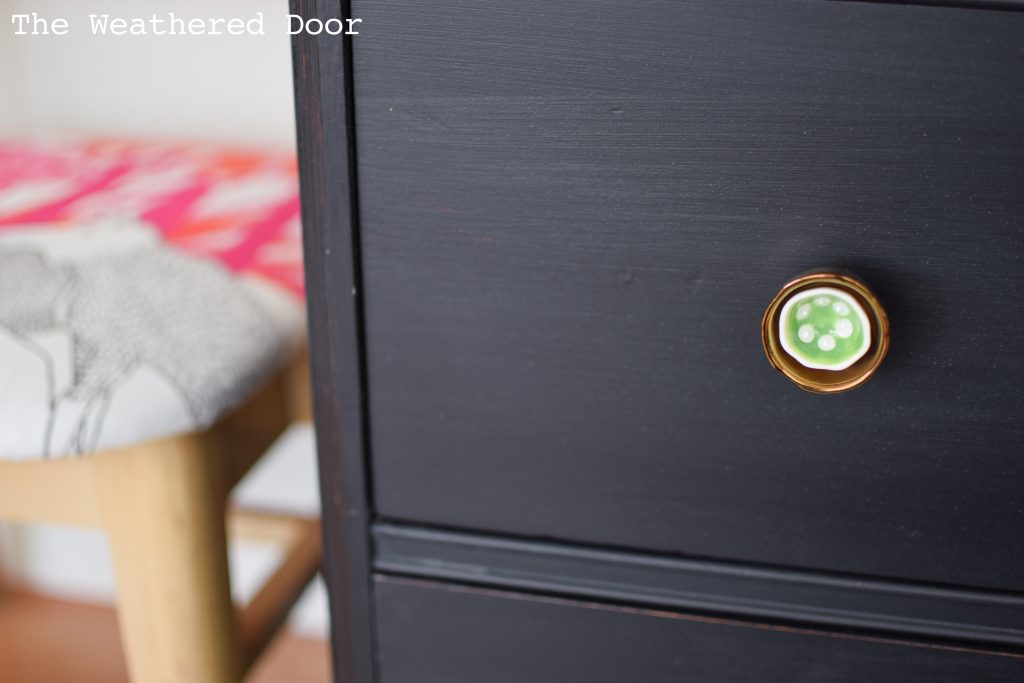
Just looks great! How cute are those knobs!? Well done.
Beautiful and worth the work!
I love the black! It definitely sounds like it took a lot of work to get it stripped! It was well worth it 🙂 Great job!
Love this and the amount of work you put in to strip it is amaze balls. I think the black milk paint and those knobs are the bomb. Featuring this makeover on our weekend features post with a link back to you and pinning on our features board. Seriously loving this 🙂
Love this Reeves! Only you can turn something in this condition into something marvelous! Such a silky finish. Ive stayed away from black for a while but now this makes me envious and totally inspired!