
Painting and refinishing furniture is fun, but sometimes I just want to do a different type of project. One of the first upcycling projects I did when I started this blog for my senior project was make DIY Hubcap Flowers. I liked the whole idea of taking something, or (many unwanted things in that case) and turning it into something new.
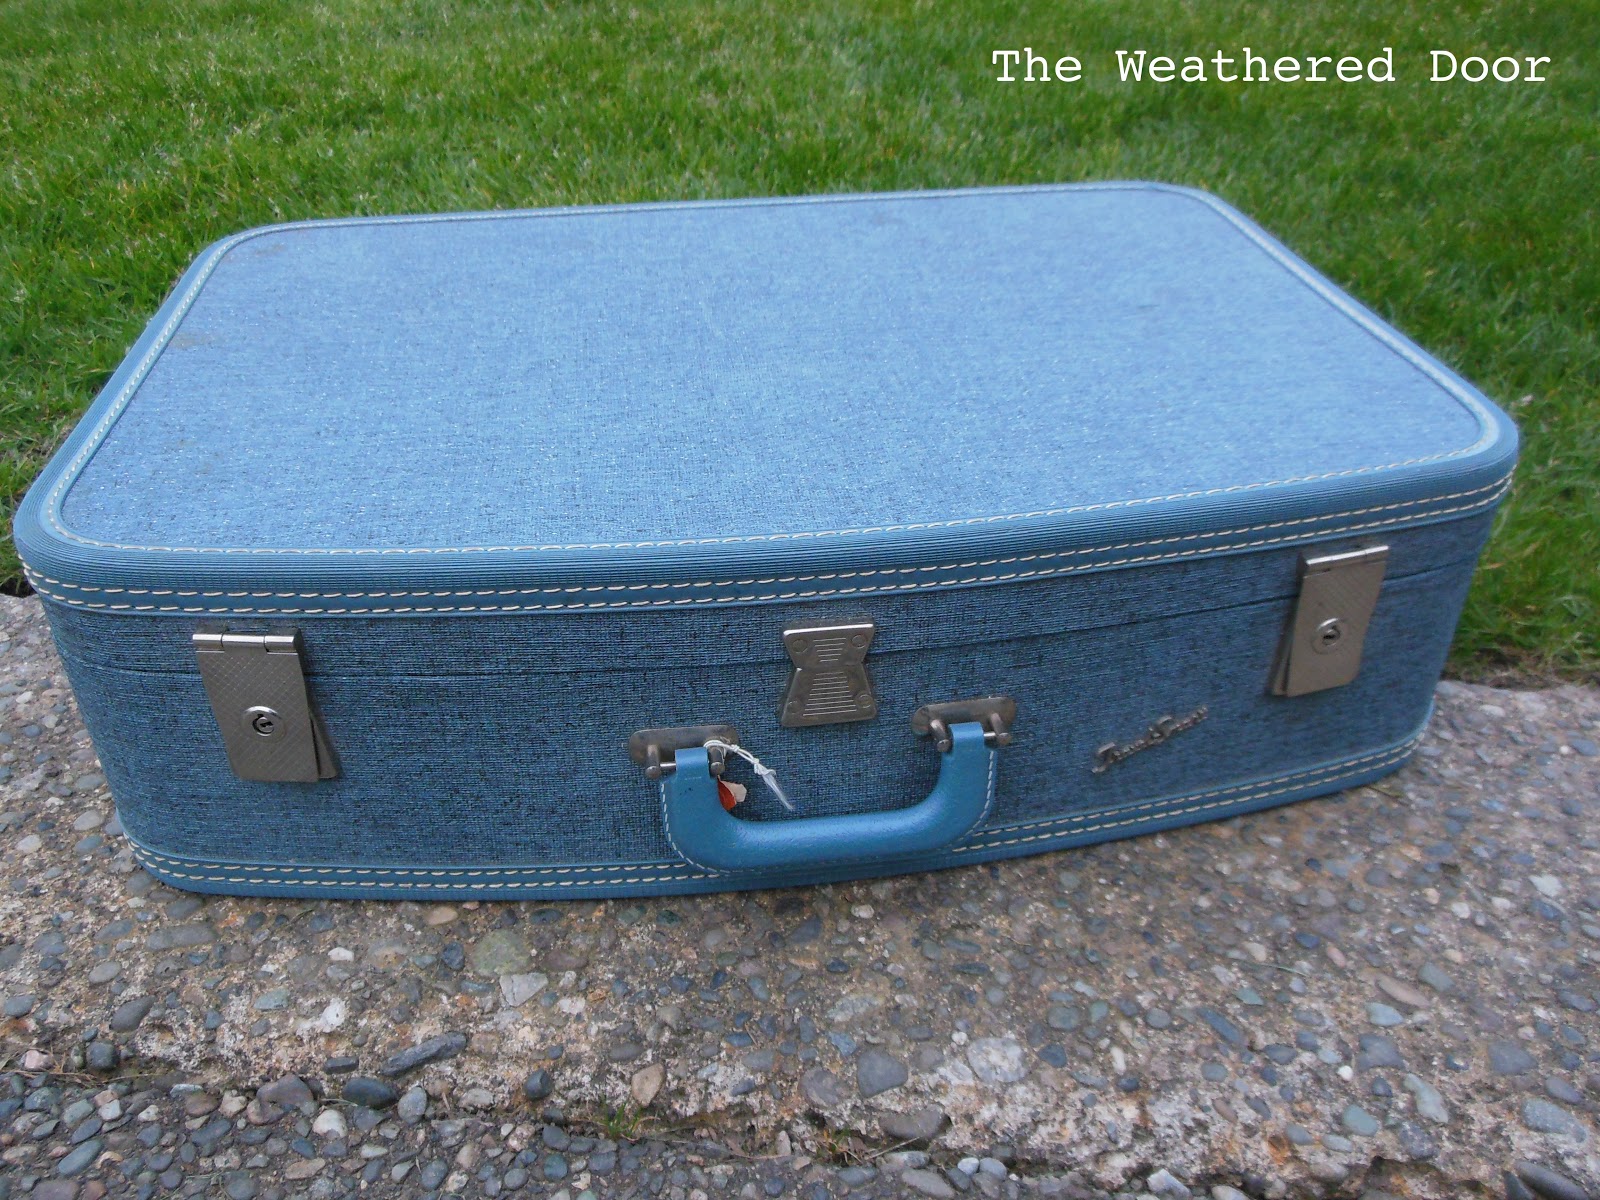
I had some different pieces lying around that I loved, but had no practical purpose. I had an old, vintage blue suitcase I had purchased for a project (not aware yet of what that project was) and while cleaning out the garage this week I re-found a project table my dad and brother had picked up for free that was left over from a yard sale. It was a mid century side table that was somewhat falling apart. One leg was off, and the top was uneven as well as separating. After a year of never getting around to fixing it, I adopted it to use for my suitcase project. (The top of the table was very cool, but way beyond the skill level of anyone living in our house)


This is a pretty simple project. All I used was a suitcase, 4 mid century legs (from the free table), 4 wood screws and 16 post screws.
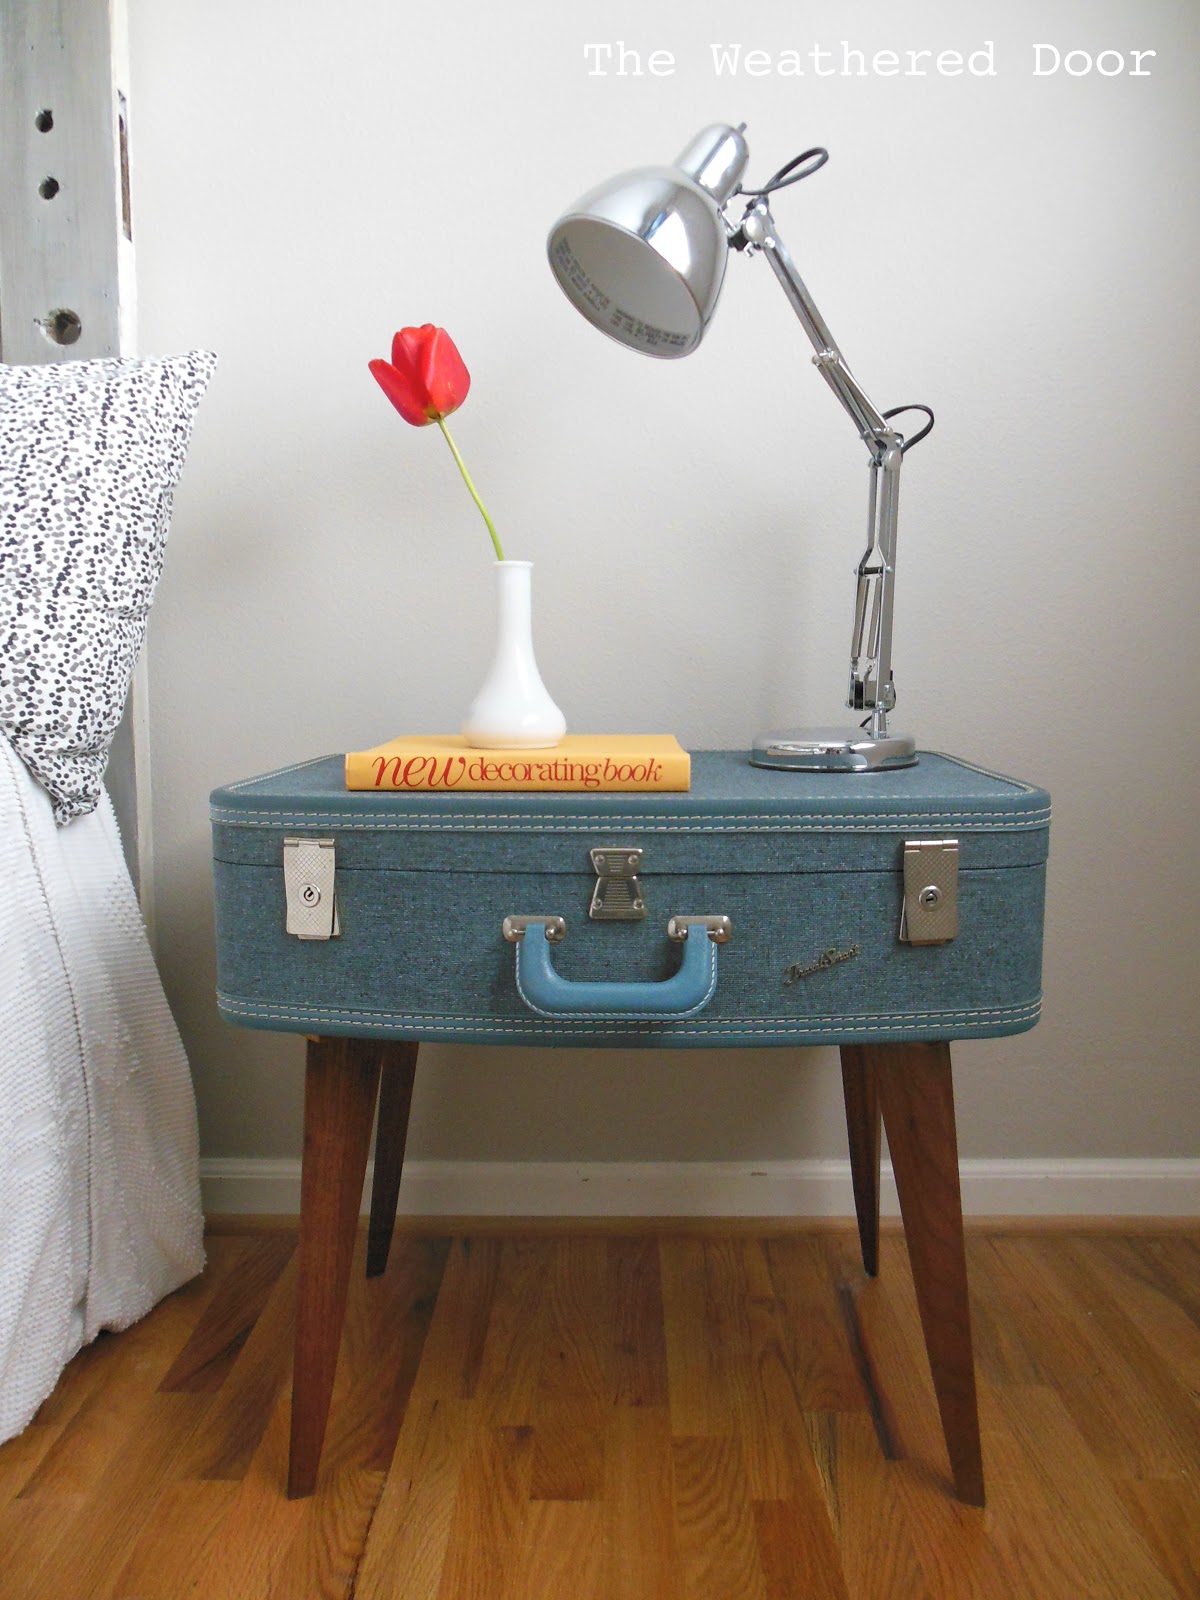
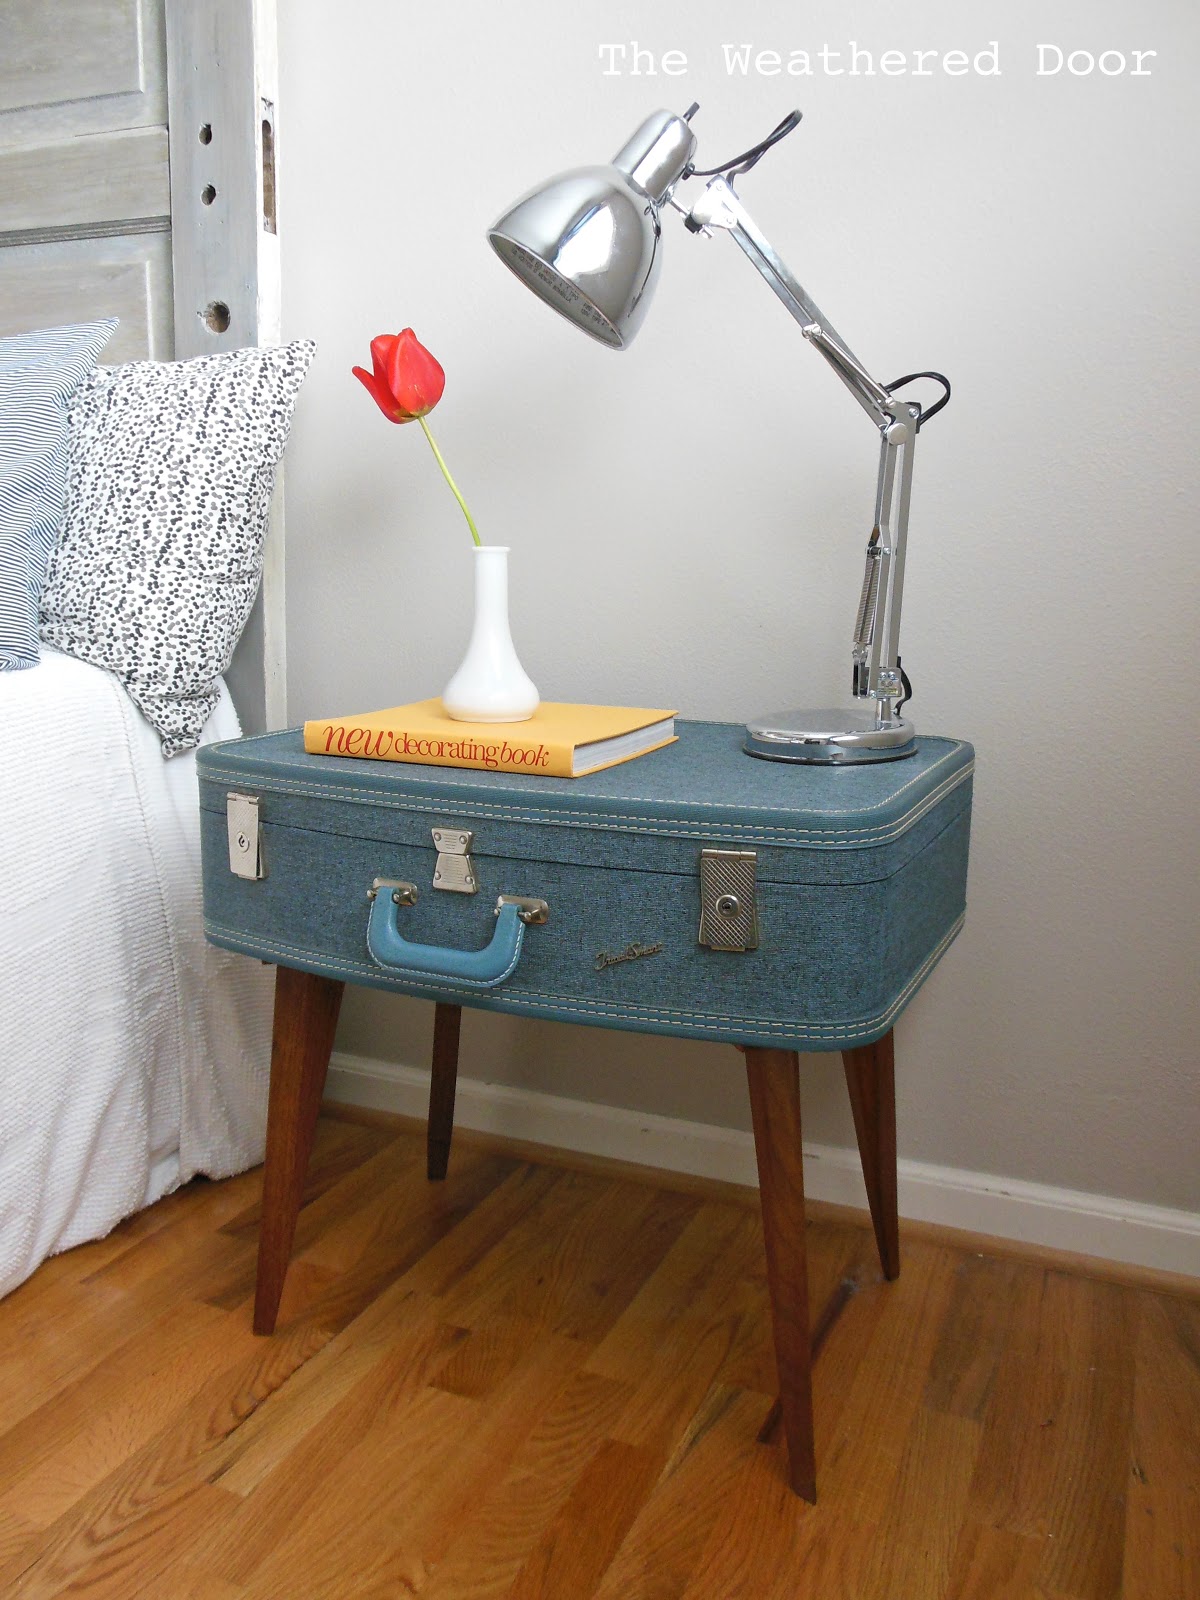
I started by using a drill to removed the screws and legs form the mid century table. Next I flipped over my suitcase so it was laying top down and arranged to legs the way I wanted them. I did not really measure. Since these specific legs are not just horizontal, but leaning, I made each one point out towards the corner of each suitcase (see the picture if you are trying to make sense of that). Each leg had been glued and nailed to a block of wood. Some were not as sturdy as others so before attaching them to the suitcase my dad helped by adding a wood screw into each one so they would be more stable. We had to make sure to predrill and counter-sink the screws so the base for each leg would sit flush on the bottom of the suitcase.

Once we (my dad was my helper for this project. I have the ideas, he has to help execute them) had the legs placed where we wanted them, we drilled through the four holes and the bottom of the suitcase. We made sure to label where each leg went so the holes would line up correctly.

The next part is just the assembly, so we headed inside to get out of the cold garage. One thing that was important to me was making sure whatever screws were on the inside of the suitcase were flush. In order to make them flush, we headed to our local True Value and bought ¾ inch post screws. They were more expensive than I had planned on spending, but if I ever sell or get rid of the piece no one will have to worry about poking themselves or anything that is put into the suitcase.


We poked the post through from the inside, then screwed in the screw from the bottom of the suitcase, through the legs. There were not enough of the plain head post, so some have holes in them, but this is what the inside of the suitcase looks like.


After all all the legs were on and tight, it came time to test out our little table. I was unsure if the legs would be even or if only 3 would touch the floor at a time. They all lined up great! I even checked the top of the suitcase with a level and we were spot on.


Budget Breakdown:
- Vintage suitcase (from a garage sale): $1
- 4 legs (off a broken table free from a yard sale): $0
- 4 wood screws: $0 (already owned)
- 16 post screws: $10.87 (True Value sold each one separately, it may be cheaper at another hardware store in a pack)
- Total Spent: $11.87
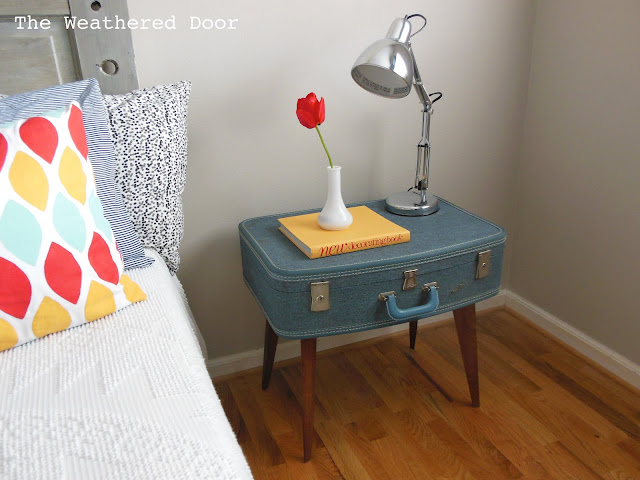
I love the way this piece turned out. Definitely one of my favorites, and it will be my nightstand. The great thing is it has storage, and it even came with the key so I can keep valuable stuff in there… not that I own any. I still like to call it my safe.
Feel free to pin this project! If you have any question, comment below and I will answer then to the best I can.
Linking up with:
Well now, that is just totally adorable!
Hi there!! I just wanted to let you know that I nominated your blog for the Leibster Award! You can read the post here.
http://jhousetawk.blogspot.com/2013/04/ive-been-given-leibster-award.html
*I am also a new follower of yours* .. Follow back if you'd like 🙂
Jordann @ J House Tawk
Verb very cool!
Cute, cute, cute! Love it 🙂
I absolutely love your blog/projects! Following you now via GFC 🙂 We have a weekly link party and I'd like to invite you to share some of your awesome posts with us !
http://withablast.blogspot.com/2013/04/all-my-bloggy-friends-link-party-44.html
Hope to see you there !
This is genius, pinning! Coming over from the 36th ave party.
Beth @ The First Year Blog
So cute…I love it:)
Wow, so simple and yet so amazingly unique and brilliant. I LOVE this! You did a great job!
~Sarah
Your table is just darling! So simple and inexpensive too. I am going to try making one myself. Thanks so much for the inspiration!
Very cool! That is a great vintage suitcase.
– Lora
Would love to see how it turns out!
Thanks so much!
So glad you linked this at our party ! Thank you 🙂 Shared on Google+ today !
Adorable! …Love upcycles!! Love you to share this at my bloggie party…I'm all about encouraging folks to upcycle repurpose and reuse!
What a party last week on Friday Flash Blog! Thanks for joining us. I hope you’ve visited some of the other community members and you're having a splendid week.
Jennifer
thejennyevolution.com
This is great. My grandma just gave me my grandpa's old travelling salesman suitcase and I was looking for ideas to turn it into something new. I think I'll make it a table! I love that you still have storage inside the case.
Lindsay
Thegigsdigs.blogspot.ca
Yes! Suitcases can be cool looking but not always functional so this is a great way to find a use for it again and display it! I hope your project goes well.
This is such a fun, funky, cute idea. I love it!!
Krista
This comment has been removed by the author.
Wow, I just love this!!! Found you on the YHL Pinterest Challenge Spring Edition! I definitely want to try this! Now to find the perfect suitcase…
Great job!
Natalie
http://www.natandgang.blogspot.com
This is absolutely adorable! I'm pinning and FB sharing!
🙂 Linda
Such a great idea! I love it 😉
Jamie @ somuchbetterwithage.com
What a fun piece!
Love this…pinning!!
What a fabulous way to create a trendy hipster table – I wish I had a cool apartment to go with it 🙂 I'll send this to our Dig This category for sure! http://www.bitememore.com/digme-list
I featured your cute suitcase table today at Mod Mix Monday!
So cute!
You guys present there are performing an excellent job.
is bubblegum casting legitimate
I love this! I have a set of suitcases that were my parents’, and this would be so perfect for my guest room. I’ll have to find a friend with some skills. Such a great idea. Thanks.
Love the creativity, thanks for this wonderful post wow.
nice work!