
I got a question about how to get clean lines when painting a design on furniture, so I thought I’d address and explain that here 🙂
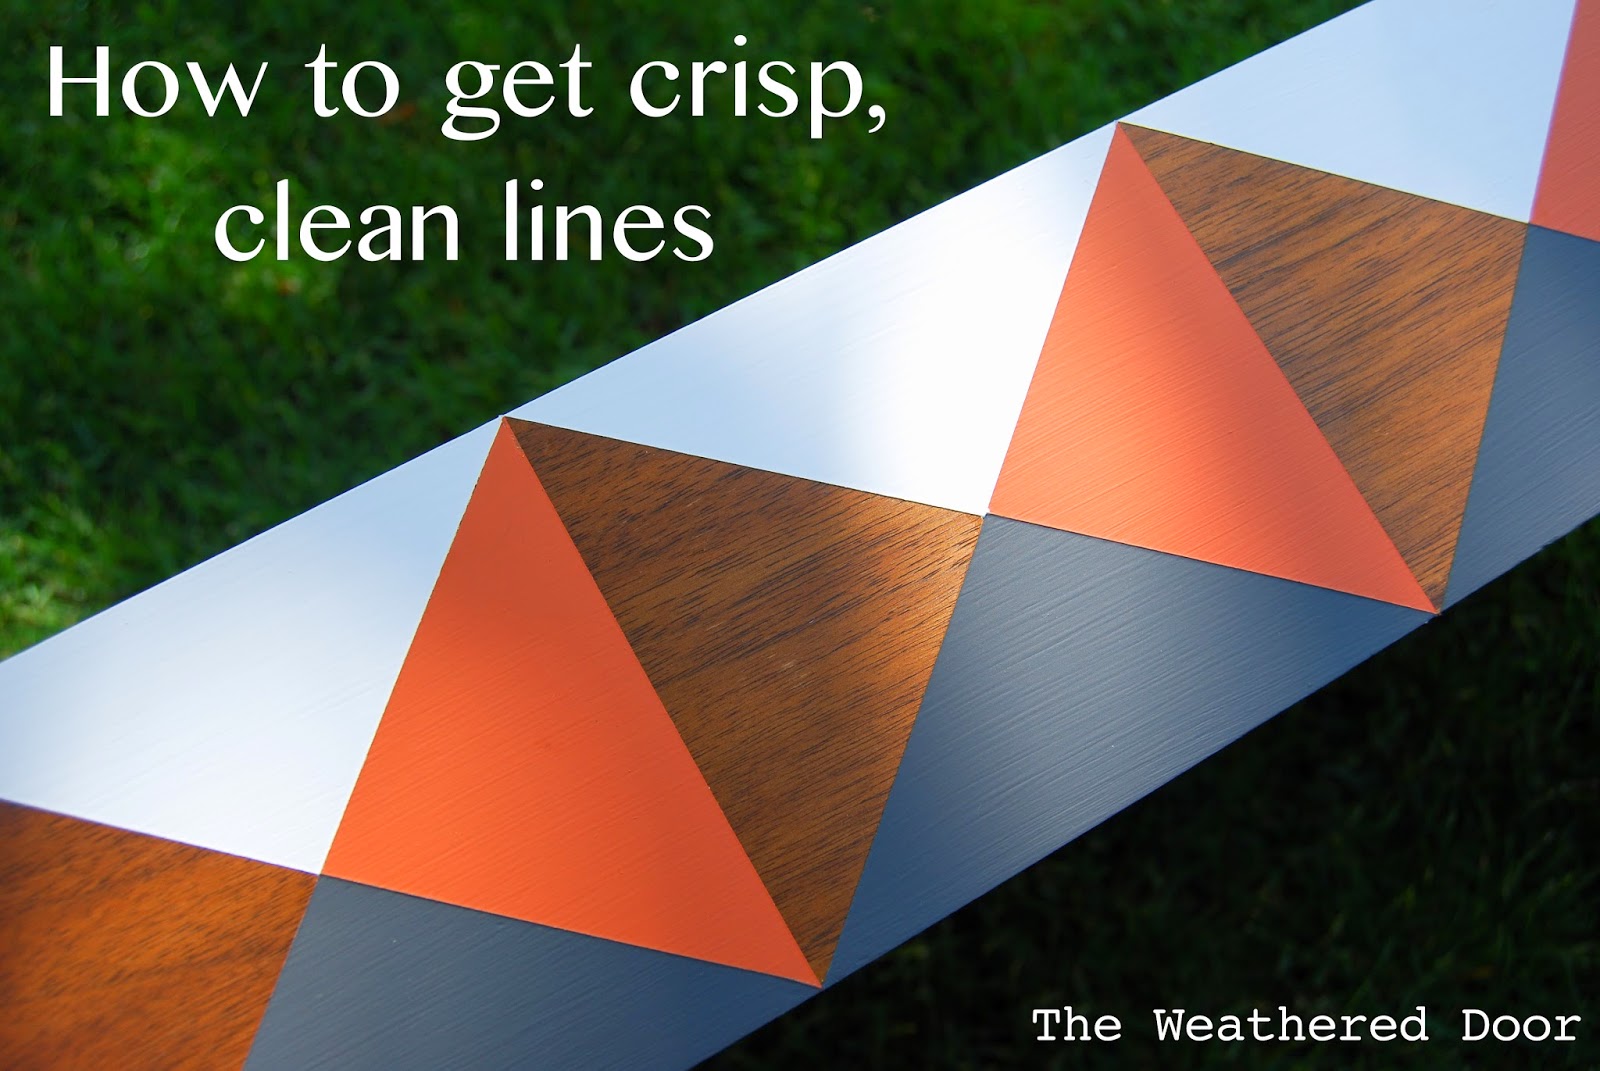
I’ve been working on another mid century piece where I add a geometric design to the drawer (this time it has some orange in it!) and I have to say, clean, crisp lines are key when doing something like this on a piece of furniture, or even a wall! No matter what type of tape I use I almost always have a problem with the paint bleeding under the tape and ruining that crisp line I want.

For those of you who prefer visuals, I created a video showing the same steps I listed out below:
How to Paint Clean, Crisp Lines
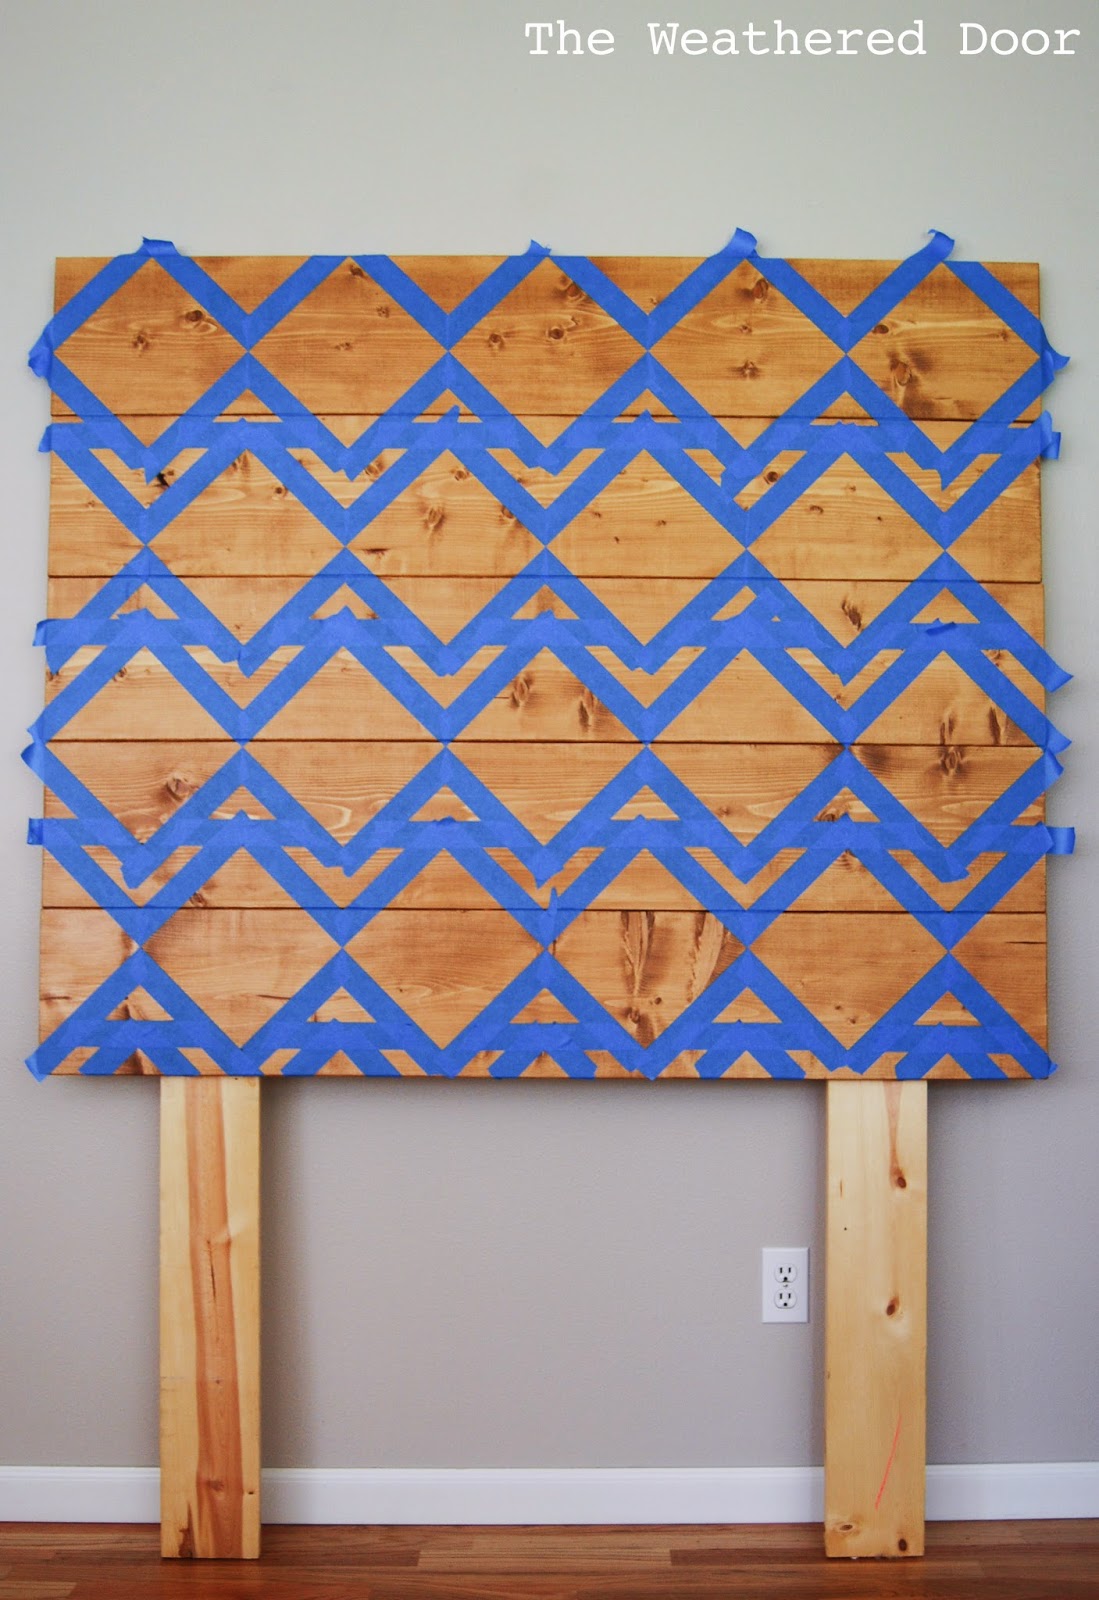
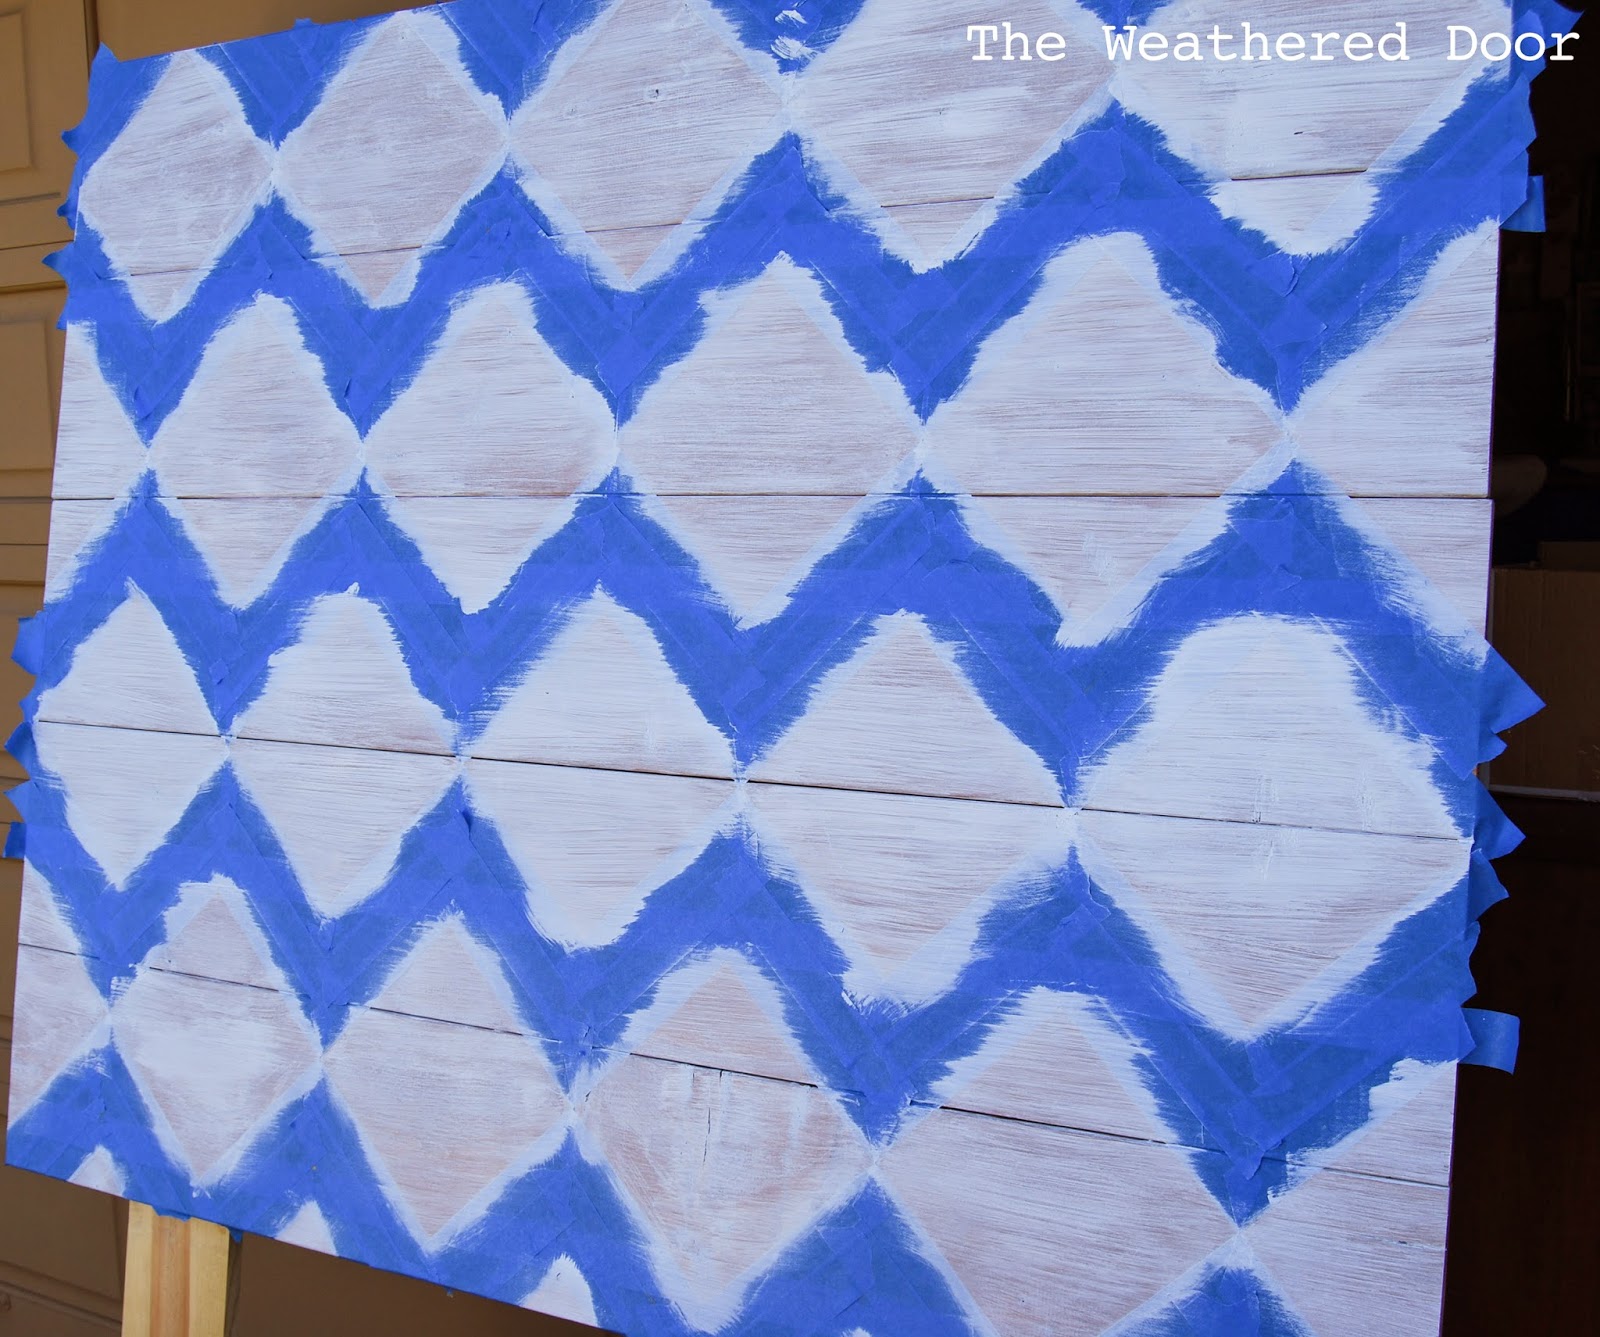
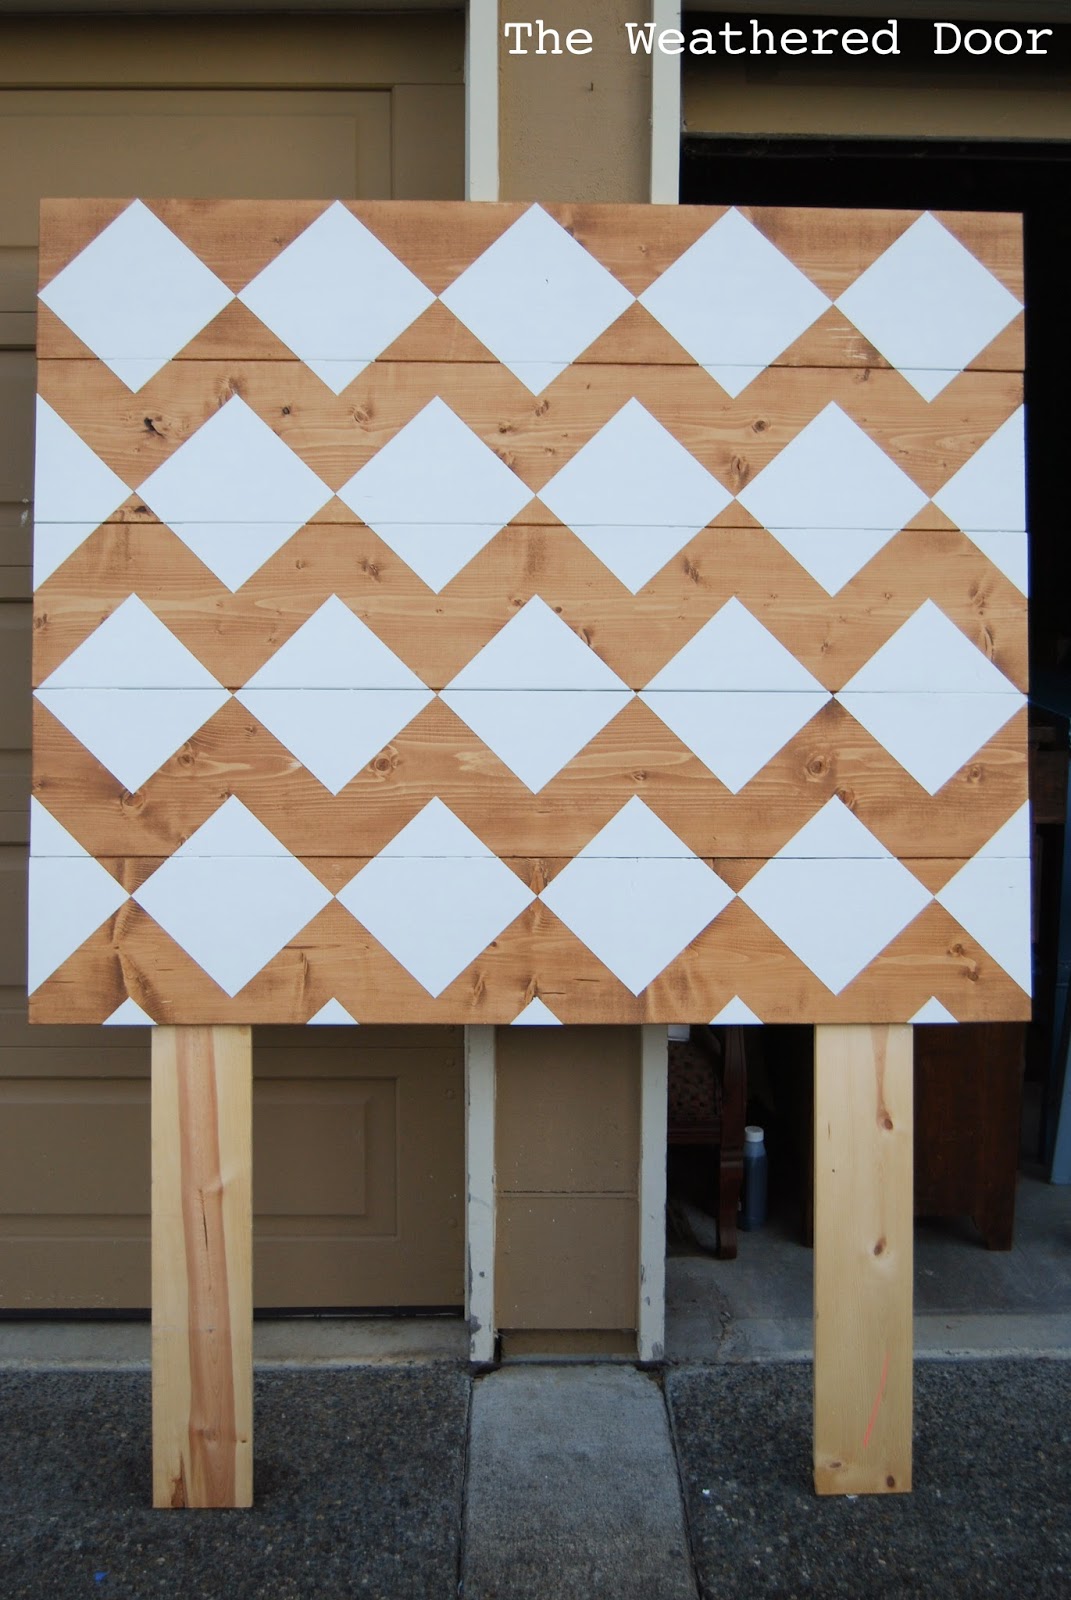

The planked wood on this headboard was a bit tricky because the tape could not get all the way into the tiny space between boards. Because of this there was tiny areas where paint seeped under. On every other area, I had clean lines! Plus, then next part of the design covered up the little parts that did seep. To see how this geometric headboard turned out and to read the tutorial, click here.
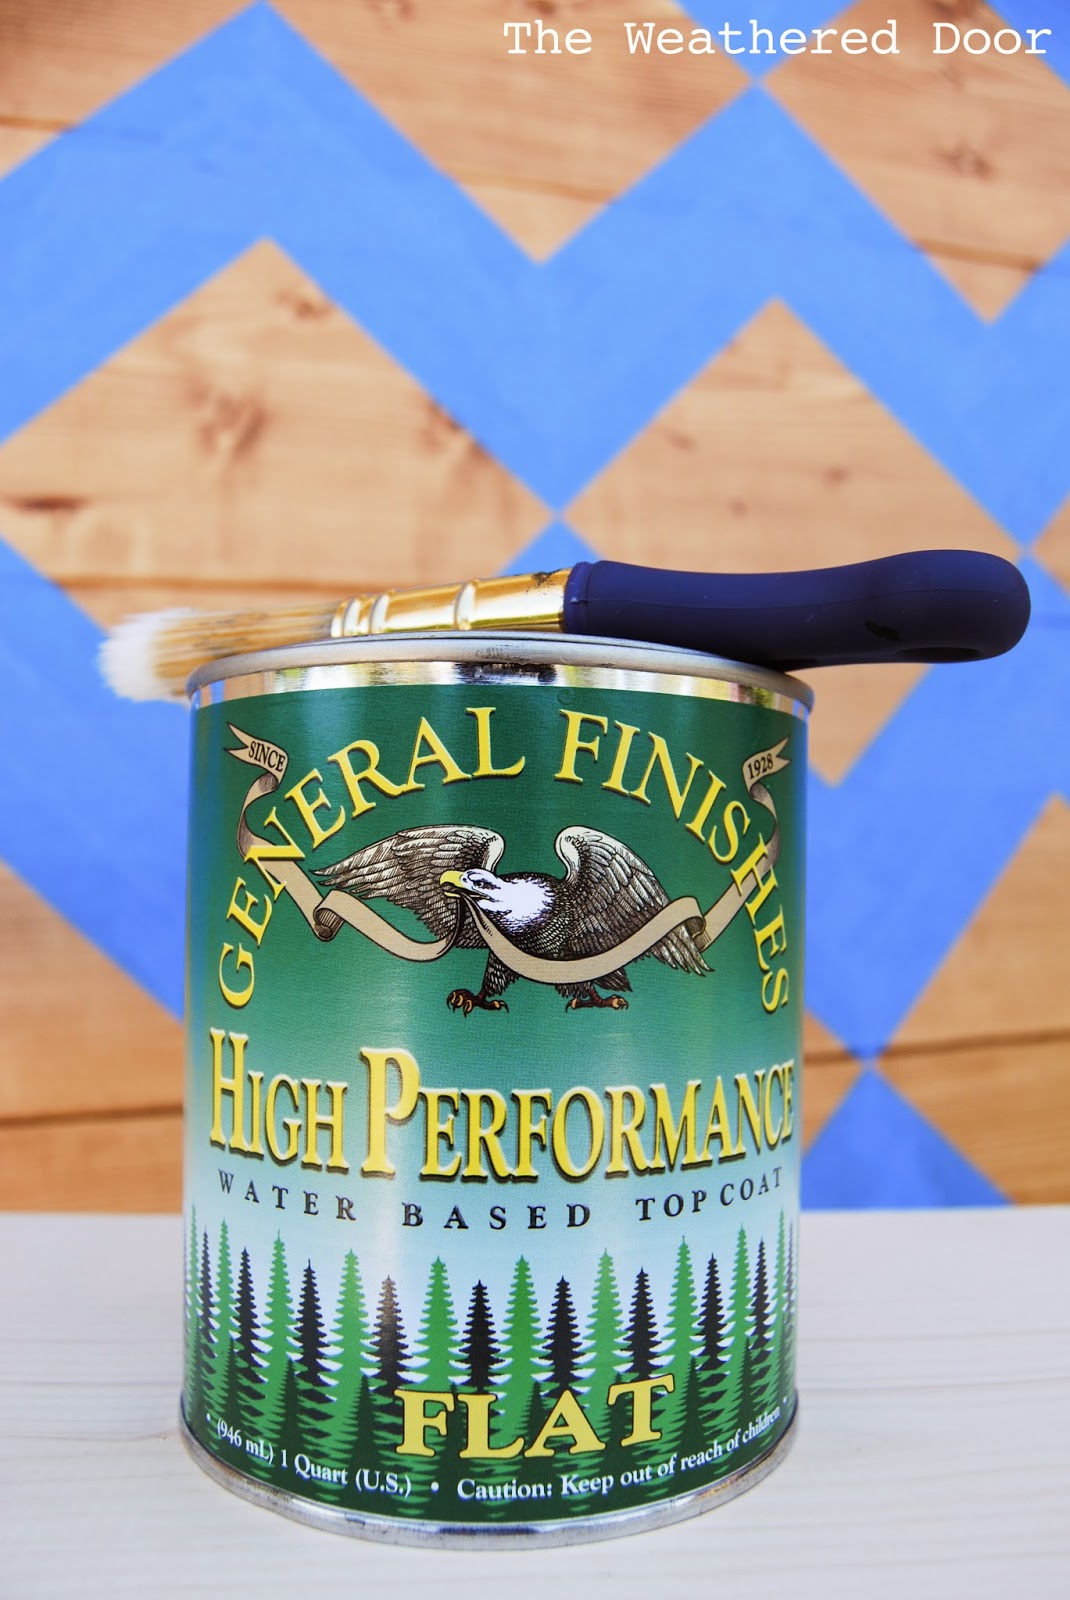
On a piece where the design is over wood (like this dresser), I tape out the design and first use a thin coat of poly. This seals the edges of the tape and if any of the poly bleeds under, it’s clear and unnoticeable. This is especially important with this geometric design since I leave some of the triangles wood. I definitely don’t want any paint seeping onto that wood.
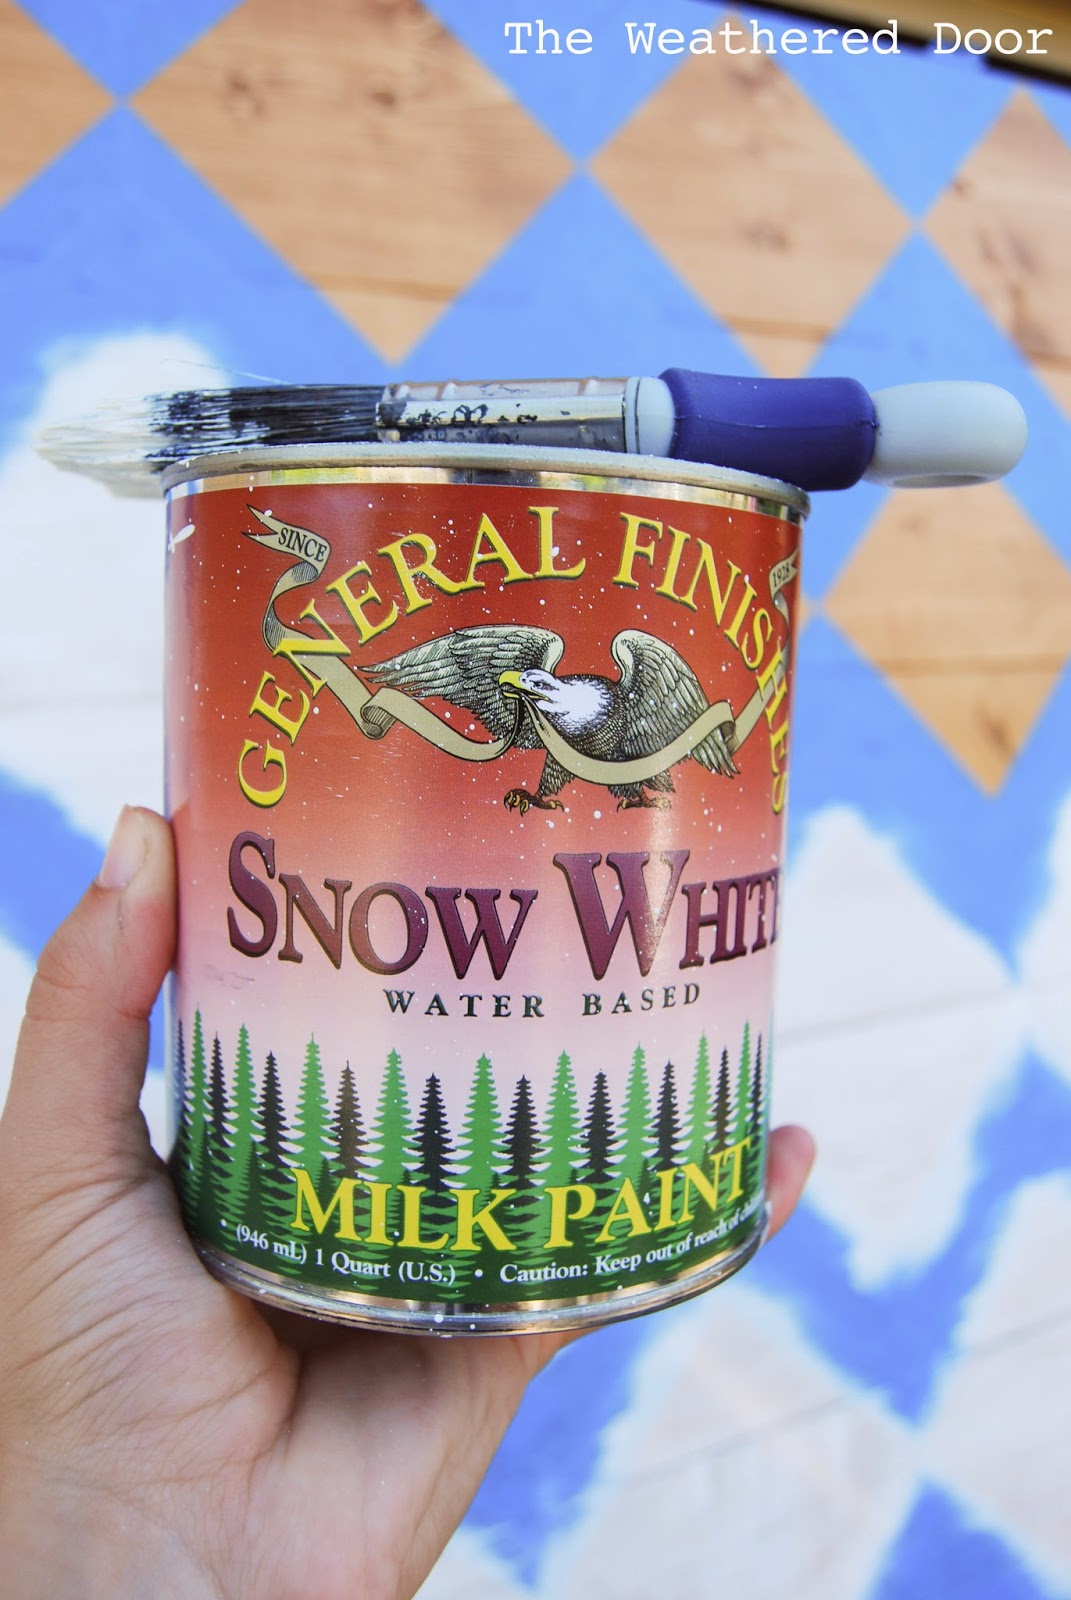
If your painting a design, say stripes of something over a wall or piece of furniture that already has painted, you can use the base color to seal the edge of tape. On this lavender dresser I taped the design, then before painting it white I used some of the lavender paint first so if any bled through, it wouldn’t be noticeable.
This little extra step is definitely one you shouldn’t skip. It will save you time and frustration in the end.
-Reeves
Great tip – thank you! I always wondered how you got such beautiful lines. Thank you for sharing 🙂
Thanks for the tip…I know I will use it some time! (Pinned it to my Awesome Furniture board).
Denise
Brilliant tip! Thank you.
That is an awesome tip! Thank you so much for sharing this 🙂
Thanks so much for sharing this tip! I always have trouble with paint bleeding through the tape and can't wait to try this method 🙂
I can't even believe how perfect your lines look!
Did you poly the whole drawer or just the edges of the tape?
Do you poly the whole drawer? Or just the edges where the tape sits? Thanks!
I sure wish I had read this post before I worked on an awesome mid century bookshelf i just finished. I used frog tape but the paint still seeped through and I somewhat fixed it but the lines are no where near this clean and straight. Will definitely remember this poly trick for next time. Thanks! Lilly
Great tutorial! Once concern I have is If painting over poly not causes problems with paint adherence or chipping over time?
That has not ever happened to me. I do lightly sand the poly and often add primer before paint. Primer helps the paint to bond and last. I also seal most of the paints I use (there are a few exceptions to paint not needing to be sealed).
will this work with wood stain too?
I have not tried it with stain. Because stain soaks into wood instead of just sitting on top like paint I don’t think you would get a clean line. Also, you wouldn’t want to apply poly and then stain. It would stop the stain for soaking into the wood and doing its thing.
Thank you!!!
Do you poly the entire area in the design that’s to be painted or just along the tape line? thx.
I just go along the tape line but feather it out a little so there isn’t any lines or ridges from the poly