
I don’t normally take on custom work because there are a lot of things I have to take into consideration when painting someone else’s piece, but my neighbors and the family I babysit for are moving out of country and I was able to do this piece for them before they left. It had already been painted when they bought the piece at an estate sale and whoever painted it did not do it right. You could easily scrape the paint off so I knew all of the paint had to come off before I could prime and paint it. If it didn’t get the paint off, whatever I painted onto the piece would still be over the yellow/orange paint that was not a good base. It also had a few layers of wallpaper that she tore out which is why the inside looks a little crazy.

Sanding this thing down took forever. I just wanted to knock it over, but after working on it for a few hours for 3 days I finally got it done. There was a lot of nail removing (especially on the inside of the doors, the chicken wire was held on with nails) and filling random holes on the piece. I also had to remove the wood detail that was above the doors as requested by the owner. As you can see below, it looked worse before it looked better!

I was in a race against the rain trying to get this piece sanded, prepped and primed before a storm hit. Once I wiped all of the dust off from sanding, I mixed some TSP substitute with water and wiped the piece down. When it had dried it was time to prime. I chose to use spray primer because it saves so much time. My go-to choice of a good primer is Zinsser Cover Stain which is an oil based primer. This piece took 2 cans of primer and while it’s more expensive to buy primer in a spray can, the amount of time it saves for a piece like this is totally worth it! In the photo below the piece is partially primed. When I sprayed the doors I just set them one at a time inside the cabinet so the over spray could be used there. Most of the inside was not primer though because I was using a chalk paint to paint it and I didn’t have worry about bleed through.

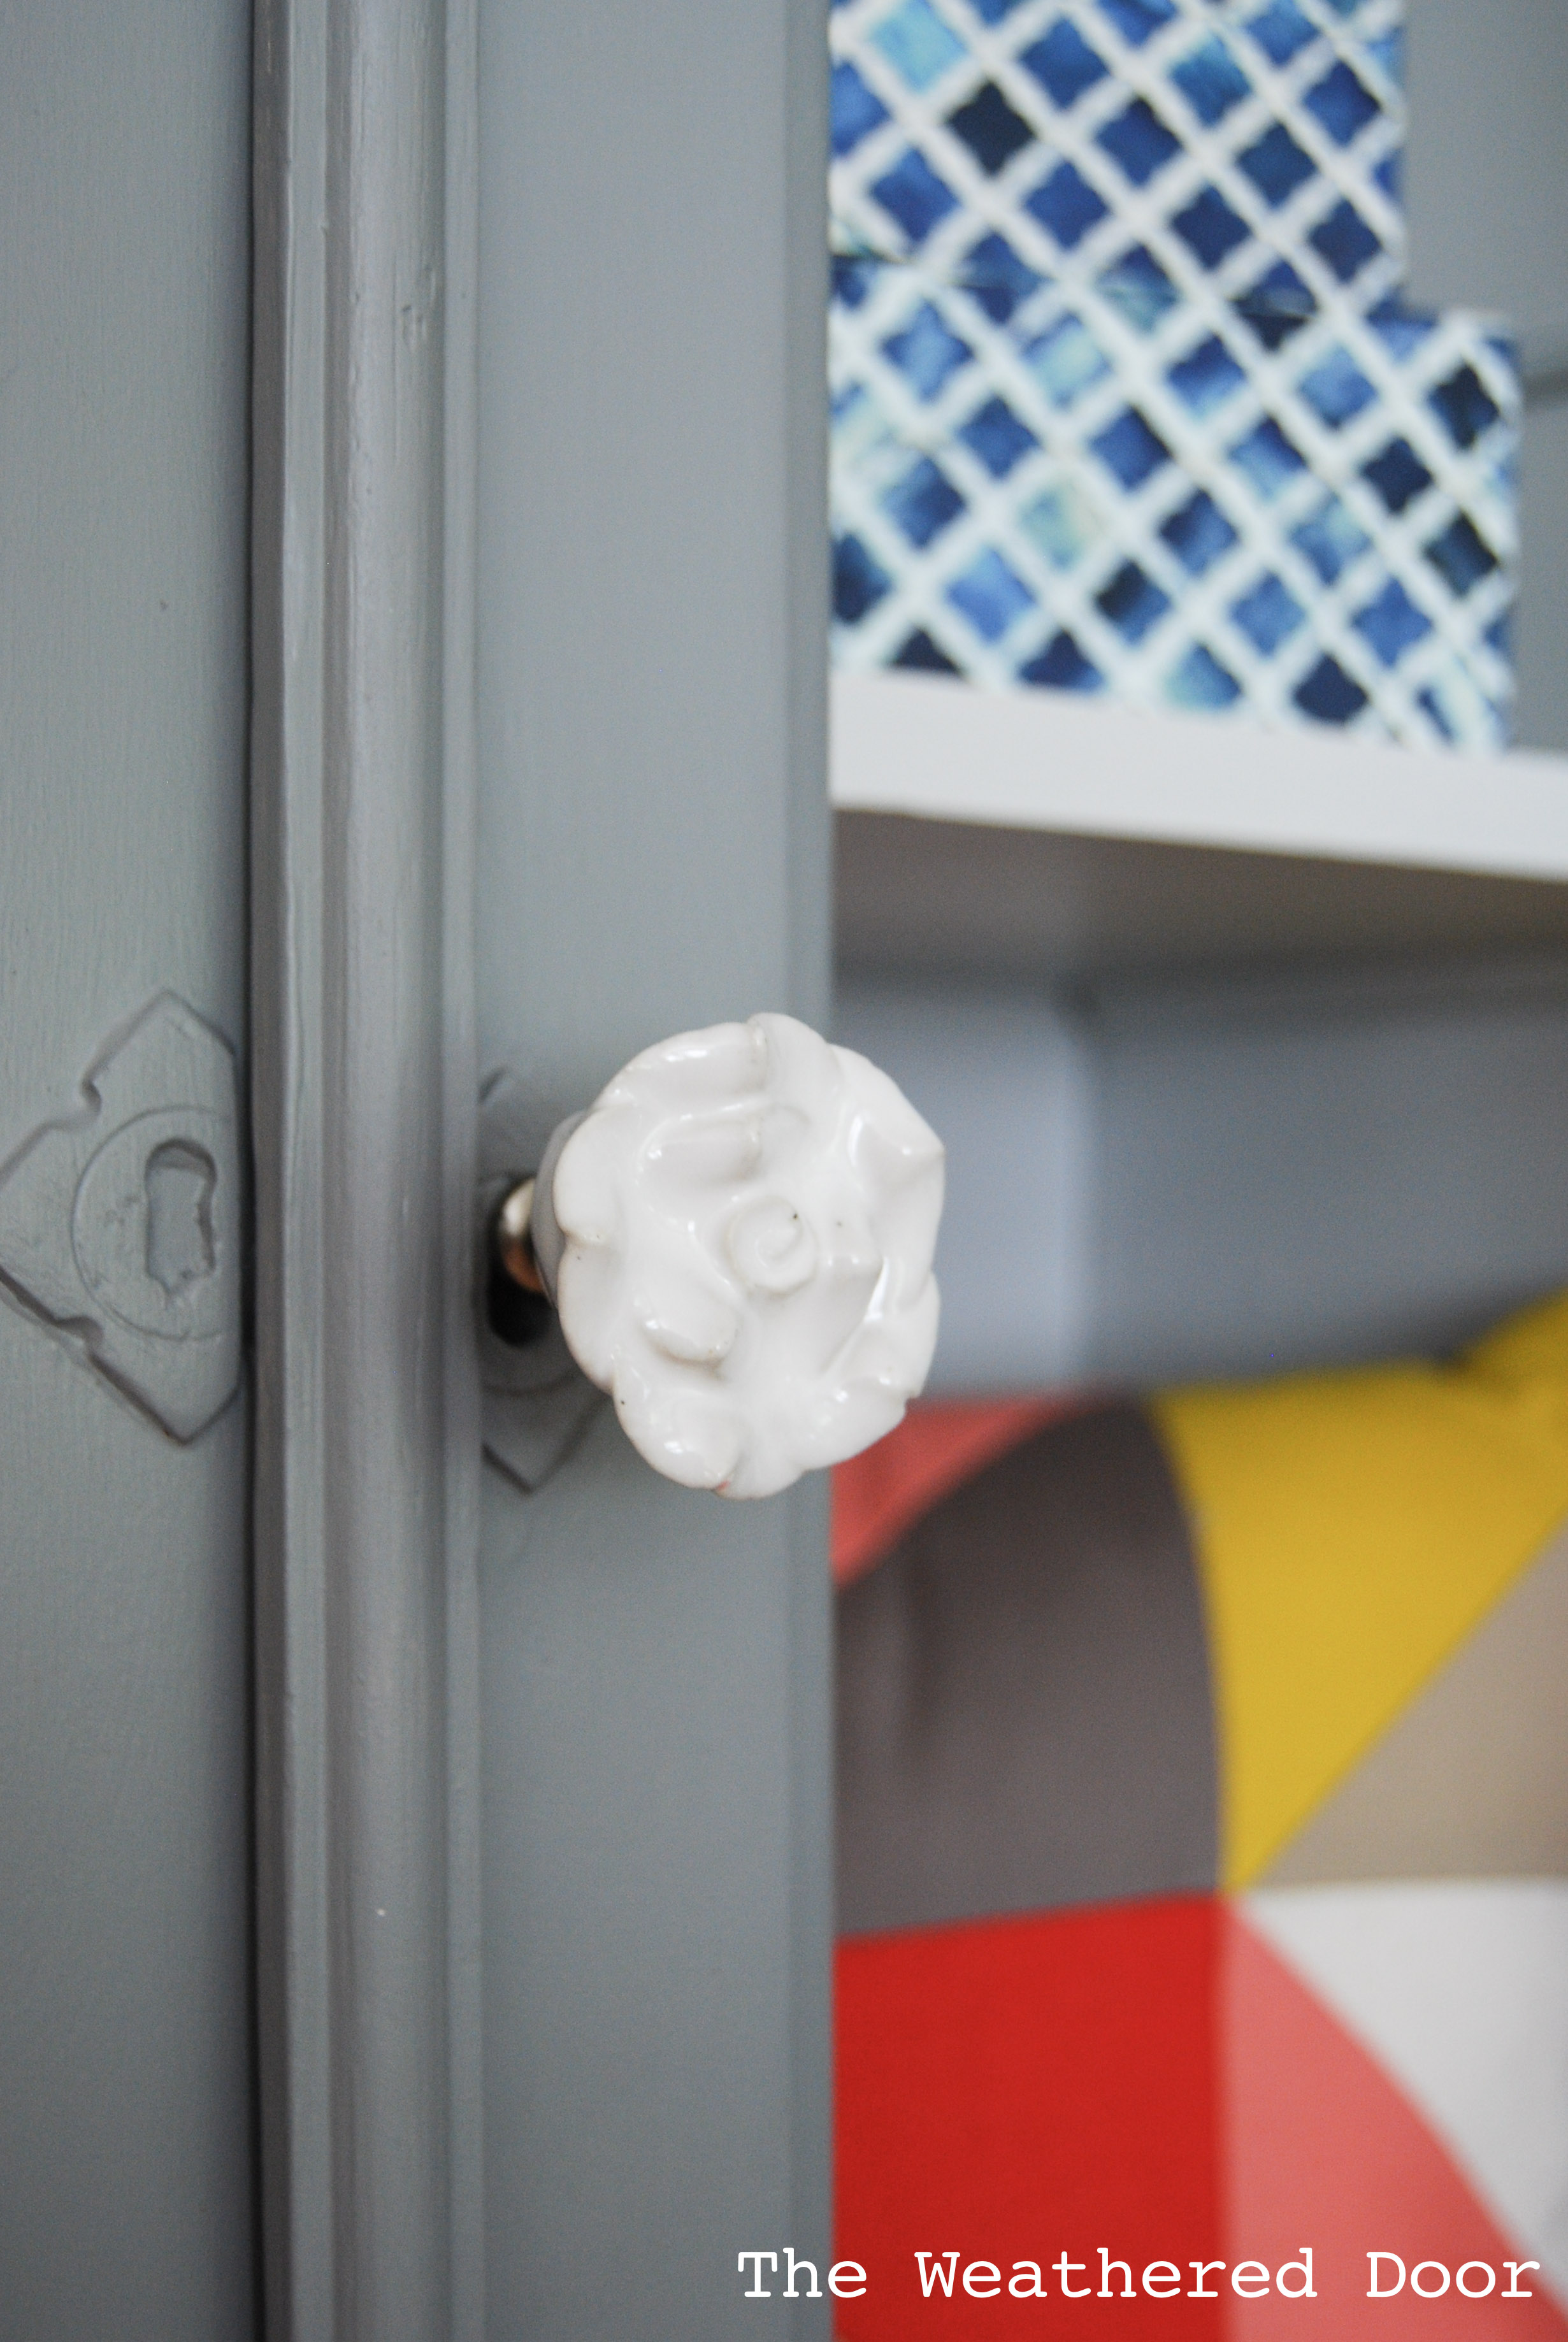
After the cabinet was primed I let is cure for 24 hours then took a 320 sanding block to it to make sure everything was super smooth. I then mixed up a custom medium grey paint color for the outside of the piece using General Finishes milk paint in the colors Seagull Grey and Queenstown Grey. I just added some of each color until I achieve the right tone. The outside got 3 coats of the grey paint and was sealed with a thin coat of GF high performance poly in flat followed by a thin coat of GF’s Satin wax. For the interior of the cabinet I used Country Chic Paint in their limited edition color ‘Lazy Linen’. It’s a really pretty soft, creamy grey that has great coverage. I primed the wood shelves to prevent bleed through, but the back and sides of the cabinet I just wiped down before painting. I only needed 2 coats for full coverage and then sealed the shelves with CCP’s Tough Coat water based sealer (great for surfaces like shelves that get heavier wear) and the other parts of the interior with wax. The last thing to do was add in some hardware. I had a few of these white rose knobs leftover from Hobby Lobby, and they work perfectly! For now the cabinet doors are bare. The owner is going to add decorative aluminum sheets once she has the change to buy them.


What a job! Your hard work shows. Love all of your pieces!
You put a whole lot of time, effort and love into your pieces and it shows! Simply beautiful!
So great! But man, what a marathon!
genius! You do such great work:) I'd love you to link it up at our Outside {the Box} link party Tuesday 5pm EST
This cabinet looks so good now! Great job and thanks for sharing at Link It or Lump It this week!
Leigh Anne
Houseologie.com
Another home run for you! Loved they grey on grey. I just featured at our link party this morning. Be sure to stop by and grab a feature button.
http://www.delineateyourdwelling.com/2014/09/link-it-or-lump-it-party-56.html
It turned out lovely!
xx
Mila
milawayable@gmail.com
What a transformation!! Absolutely stunning and perfectly styled!!
I'm here from AT. I wanted to make sure you saw this comment. I am tired of painted pieces in general on AT, but yours made me swallow my words. This is gorgeous. I usually don't like chalk paint or tall cabinets. Basically, you took everything I'd never want, and you made it something I adore. You're an incredible talent.