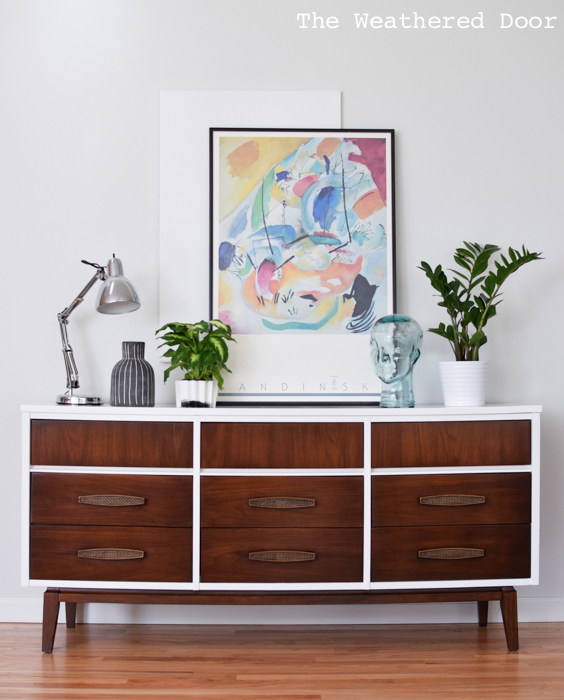
I’ve done my fair share of long mid century credenzas in white and wood, but it’s a combination I rarely tire of and it’s a quick sell here in the Seattle area. I’m sure your not surprised I have another one to share today 🙂 If you want to see other stained furniture makeovers you can find them is this category, but here’s a little list of the most recent ones:
- MCM credenza with a glossy white top
- Fresh and Modern High Gloss Credenza (with geometric drawers)
- LA Period mid century dresser
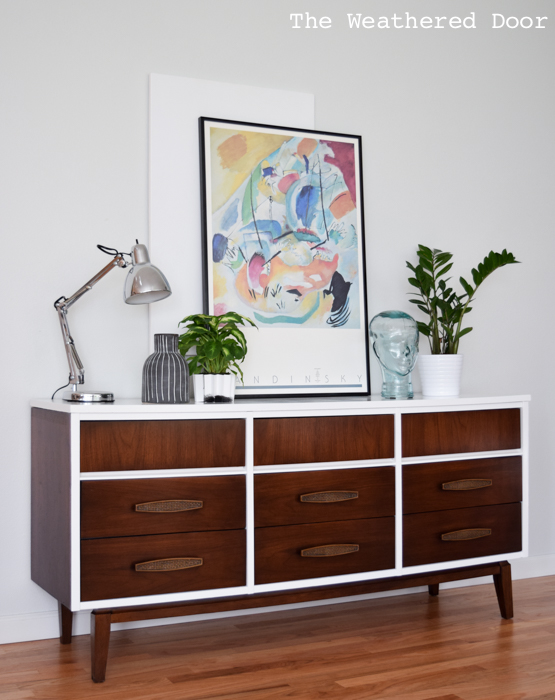
I picked this piece up off of Offer Up (check out my Furniture Buying Guide if you don’t know what Offer Up is) because I just love long mid century dresser. We had to bring this one down 4 flights of stairs from an apartment, but it was worth it.
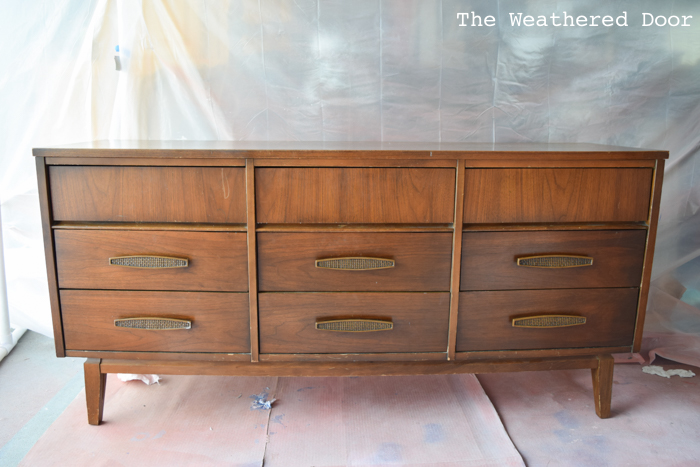
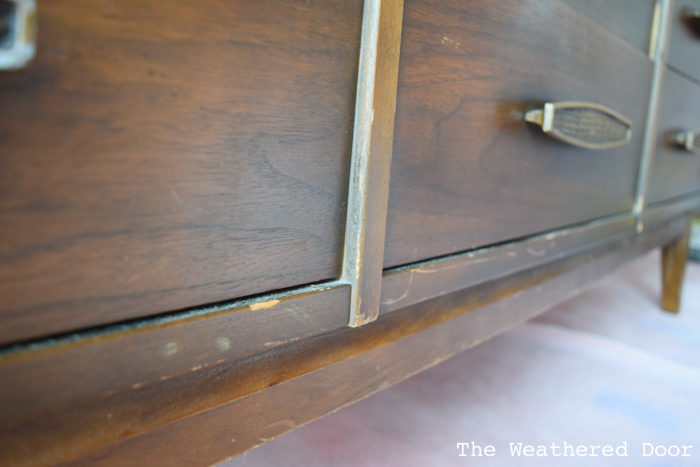
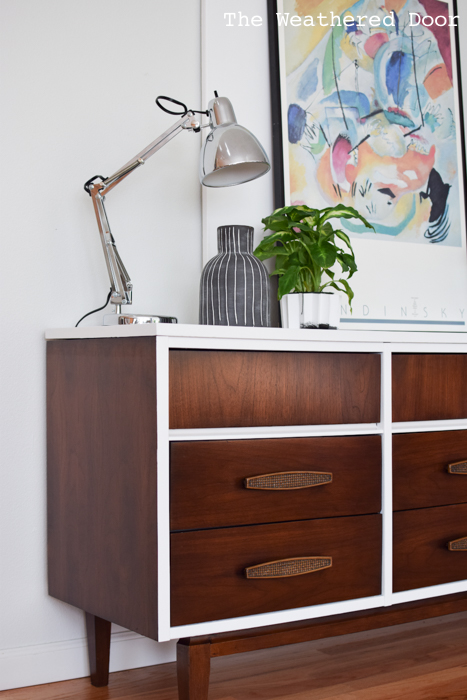
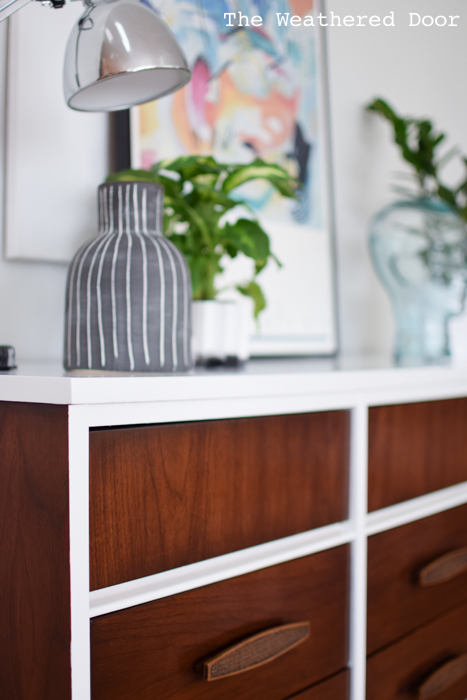
I tried to keep as much of the wood as possible. The top was laminate so that was definitely getting painted and then the dividers between the drawers had dings and gouges that needed some bondo, so those were painted as well.
First I removed the hardware and wet sanded all of the areas I was going to stain. I continued with my regular prep work and then applied one coat of *General Finishes Java Gel stain. I have a separate post with pictures and steps on how to stain with gel stain over an existing finish that covers the steps I took for this piece.
Once I let the stain dry for 48 hours I sealed the stain with General Finishes *HPTC in satin.
Once I let the stained finish cure I taped off all of the areas that were not going to be painted and covered them with paper. Where the tape met the areas that were going to be painted I used my handy trick to get perfectly painted lines and prevent bleed through. Next I filled any dings and holes with some Bondo glazing putty and sanded them smooth. The top was prepped for painting laminate and I used 1 spray can of Zinsser Cover Stain to prime the piece. The primer was sanded with a 220 grit sanding sponge, vacuumed, wiped it down with a damp cloth and finally a microfiber cloth.
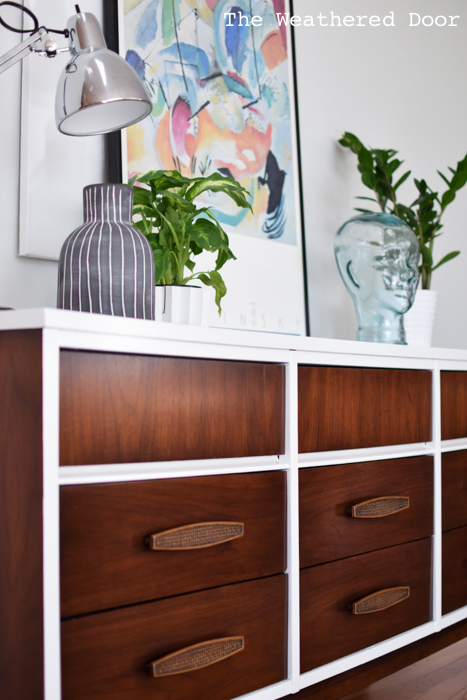
Once I moved the piece into my spray booth I sprayed on 2 coats of Benjamin Moore Advance in high gloss white. I waited 36 hours between coats because I wanted the first coat to really cure and that’s also just how my schedule worked. After I sprayed each coat I waited about an hour for the paint to dry then I turned on my dish heater for a couple hours to keep the temperature in my spray booth around 65 degrees or so. I have a *Prestso dish heater that is stationary, so I move it around the piece about every 45 minutes and keep it turned between Medium and High (but it still keeps the overall temp up in my spray booth). *This one on Amazon oscillates which is awesome. Also, I have a *outdoor thermometer that I stick in the booth (after I paint, not while I’m spraying) to monitor the temperature. The overall temp in the booth is usually around 68 degrees but whatever area of the piece is closest to the heater gets a little heat bath. I also keep my pieces up on sawhorses and my heater not he ground so there’s no chance of the piece itself getting too hot.
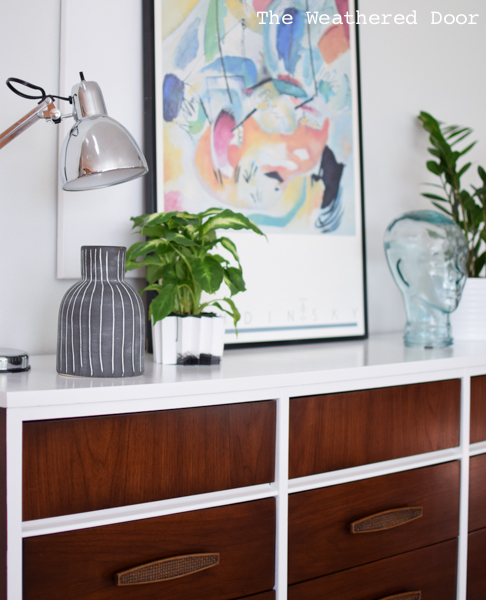
And now back to the dresser, I left the hardware as-is. It’s not metal and I could have easily painted it, but I like that fact that in its current state it blends in with the wood tone.
Stay connected and see what else I’m work on:
I LOVE it! Just the perfect touch of white to set it off. Beautiful choice!
You and your MCM pieces just shine! Beautiful work! 🙂
Yes! This looks fabulous and I’m especially excited because I’ll be doing a couple of MCM pieces this week in this manner. Usually we don’t paint our MCM furniture, but these pieces are dinged up enough that I’ve been given the green light to paint them. Your pictures inspire and encourage me. You did a great job. I saw your link at Friday’s Furniture Fix Party.
Hi!
What a gorgeous redo!
I just found your site and it is so cool! I have maybe an unusual question and I tried to look over previous posts for the answer but couldn’t find it. What color are the walls in the background of your photos? Whatever color it is, it seems to go beautifully with every different color of furniture!
I get that question all the time! In the last 8 months this wall has been painted quite a few times, and in this specific post I can’t remember exactly what it was. I think it’s Benjamin Moore’s Balboa Mist. Or it could be Paper White. Not sure 😉