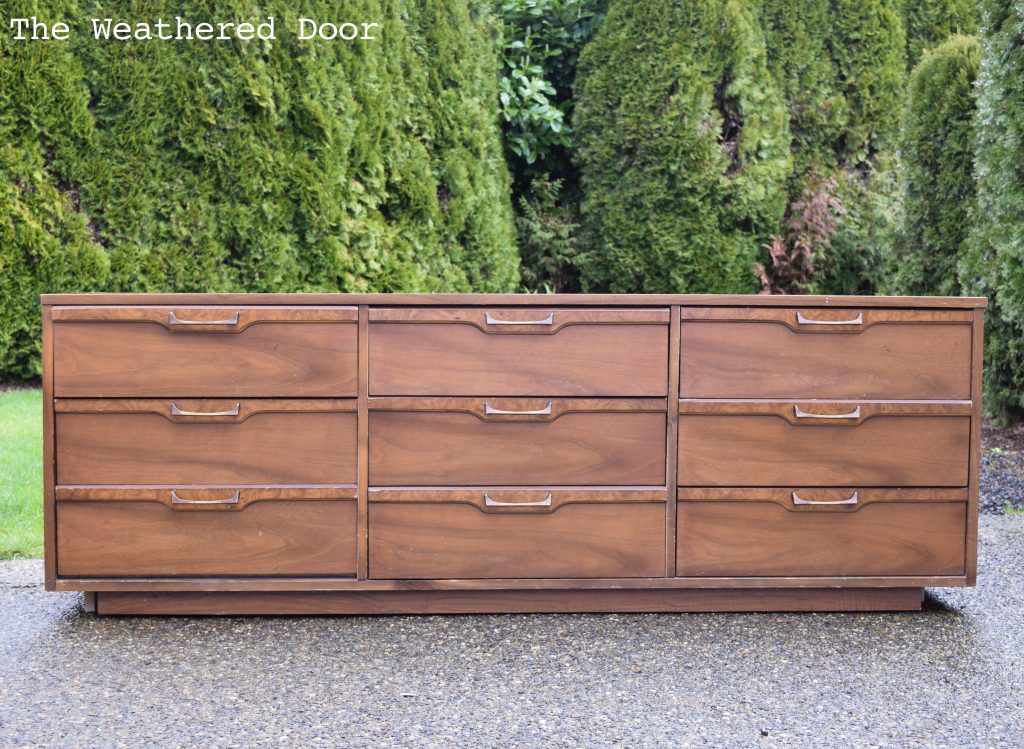
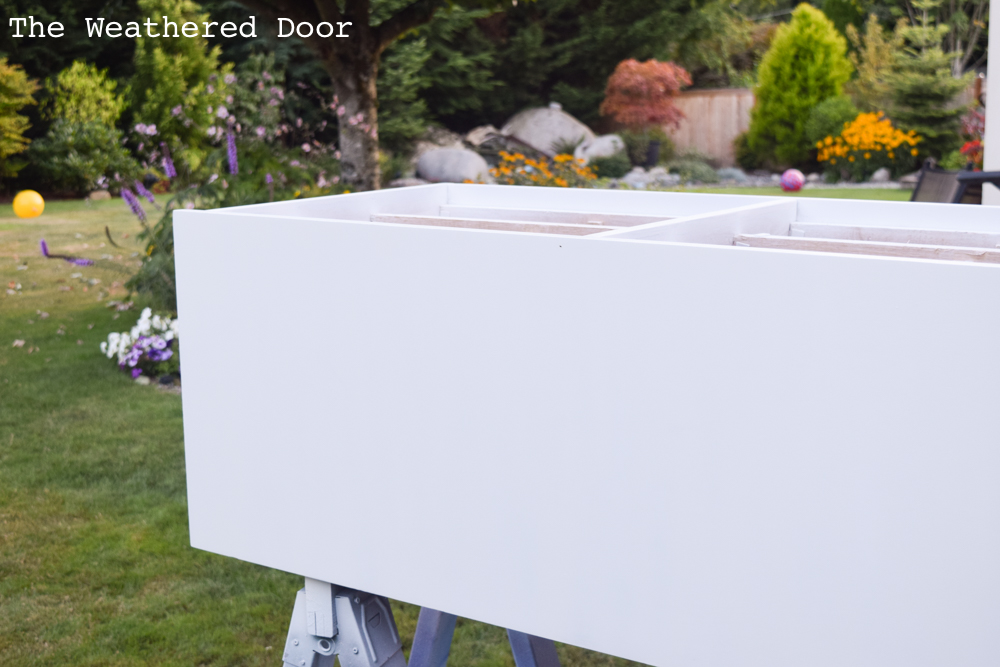
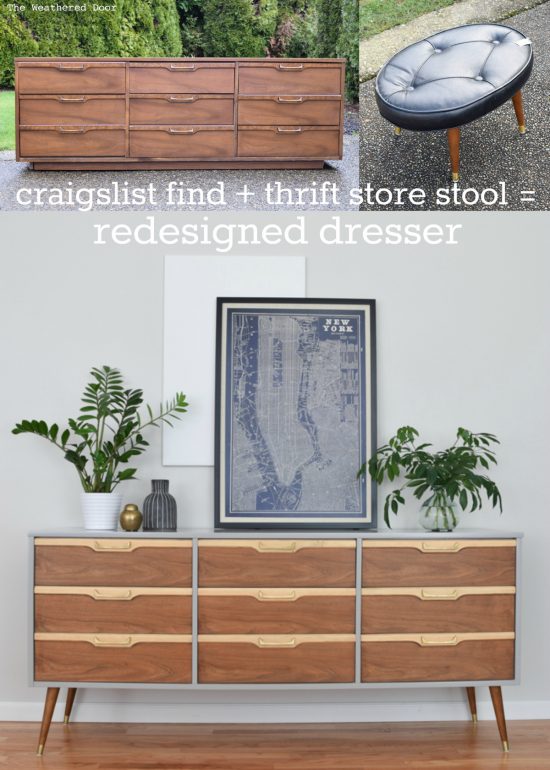
Hello, friends! I took on a large dresser project which involved a lot of updating. In the end it took more work than I anticipated, but it is a big transformation and something the piece needed. This frankenstein piece is the story of a 72″ mid century credenza that lost its legs. In its previous home it sat on the little apron/skirt that at one point connected all 4 of its legs.
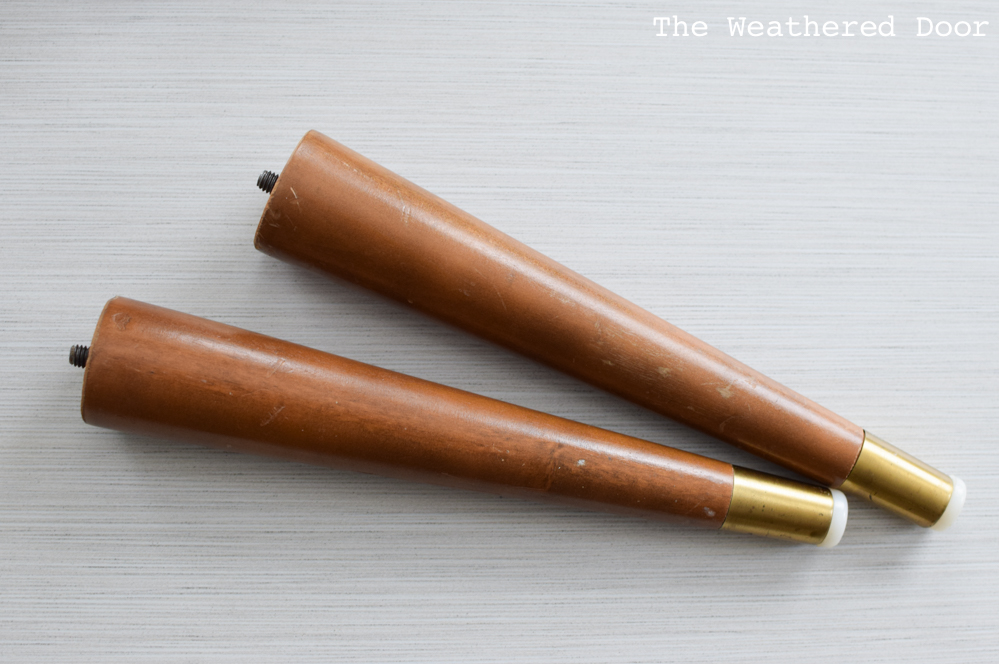
Enter a sweet little mid century foot stool I bought at goodwill about 2 years ago. I specifically purchased it for the legs because I knew at some point they would be just right for some project that would come my way. I swooped in and rescued the dresser from Bellingham with the help of some family who acted as the middlemen/purchasers of the piece.
Adding Height with Legs
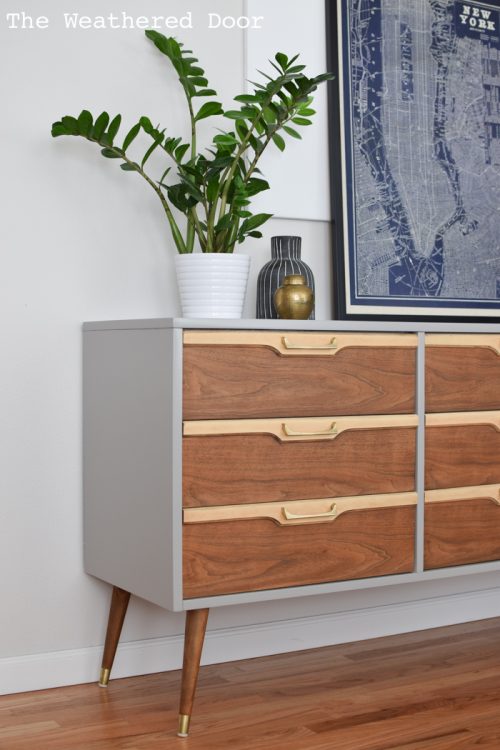
This dresser needed height added to it. As it was sitting it measured 25″ which doesn’t make for a very functional piece. By removing the base and adding legs the credenza now measures 33″. Mid century pieces are commonly 29-30″, sometimes 31″ but the added height on this piece makes it automatically feel more modern.
Drawer Make-under
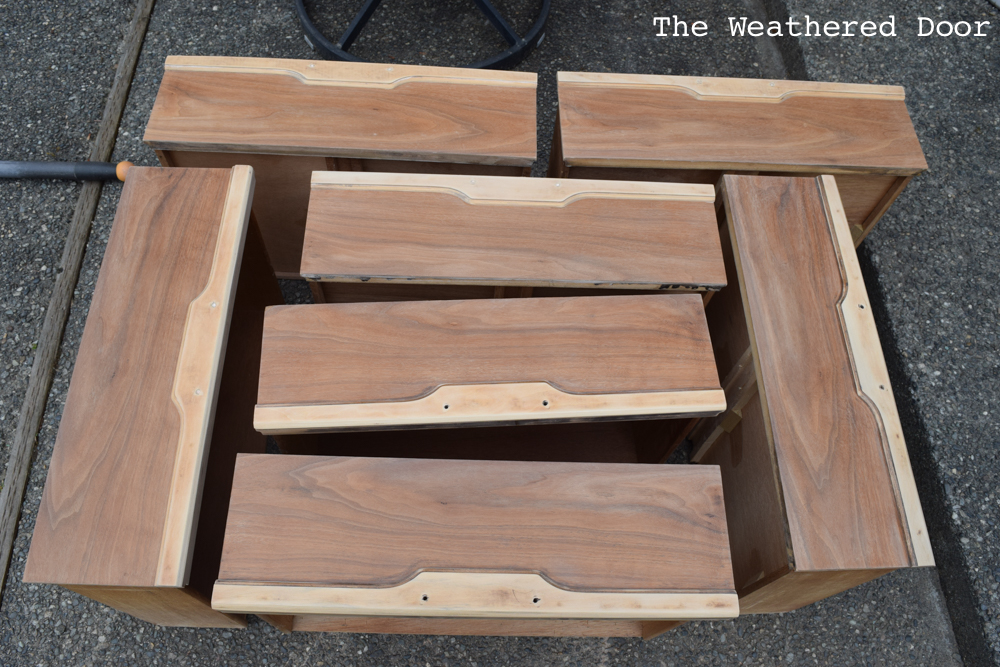
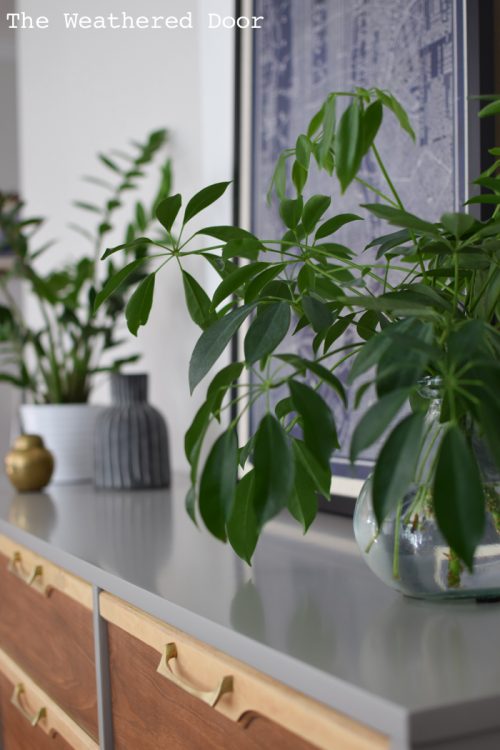
I think I stripped and sanded these drawers 2-3 times during this project. My original intent was to stain the drawers and paint the dresser frame black. After stripping the drawers (you can read about my process and find a video here) I sanded using my electric sander and ended up with the dreaded swirly marks. Also, the raised portion of the drawers where the pulls sit were not made of burl wood like they appeared to be. It was some sort of faux finish, or maybe the most paper thin veneer to ever exist, but it was gone once I stripped.
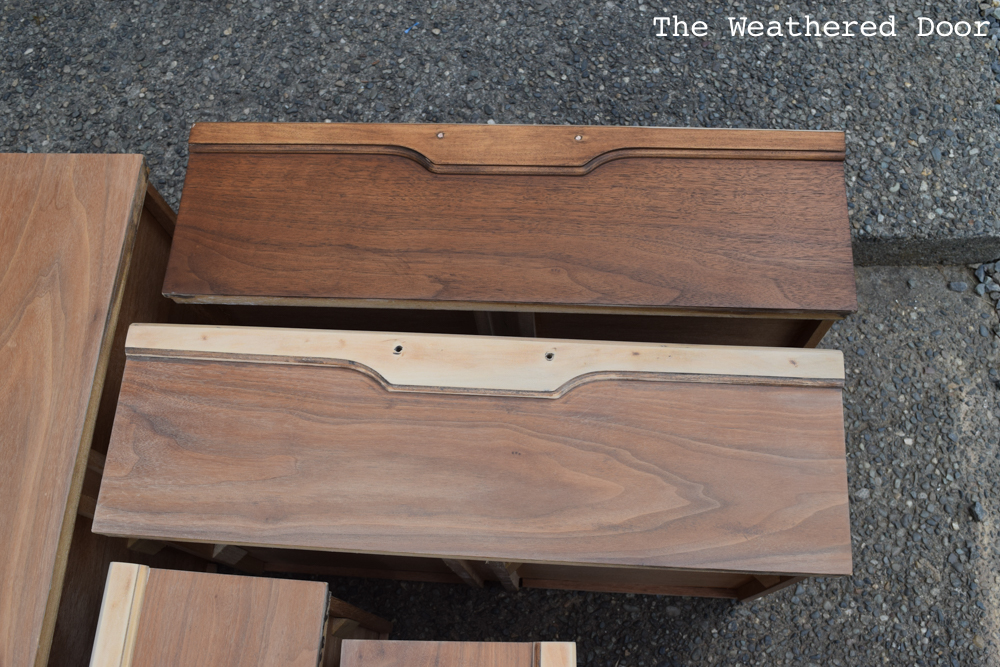
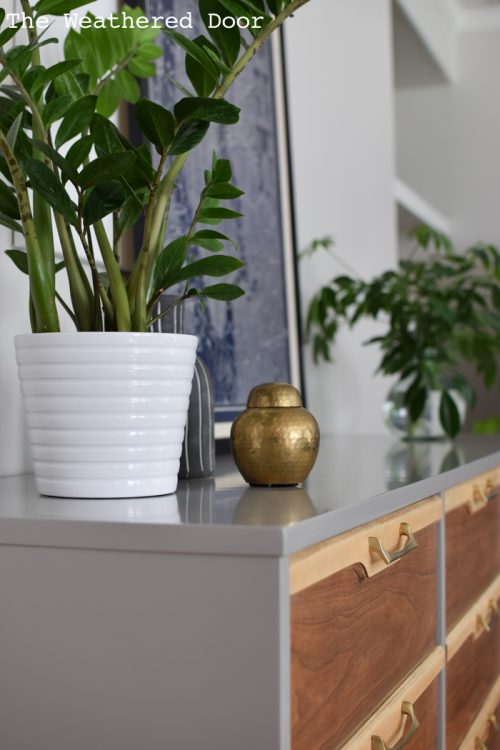
I did try staining with General Finishes Antique Walnut gel stain (see above photo). The color was pretty, but I ultimately decided I wanted to keep the natural wood tones and the two-tone wood finish that was already on the drawers from the original construction. I sanded all of the drawers using my orbital sander starting with 120 and working up to 220 grit. I then sealed them with 3 coats of General Finishes High Performance Topcoat (this is my favorite topcoat). To apply the poly I used a high quality synthetic Wooster brush. I did sand in between coats with fine #000 synthetic steel wool.
Painting the Frame
Prepping the frame of the dresser for paint was some serious work. I had originally thought I could use Bondo glazing putty to fill the scratches and dings on the piece (there were lots on the top). While it did work in some areas, the finish on top was flaking off in some areas and needed to be fully removed for the best possible final finish.
Instead of striping it, I was determined to get it done quickly by using my electric palm sander and my orbital sander. It took a good 1.5 hours of sanding to get it to raw wood. My arms were sore the next day and my hands hurt from all the strength it took to get that finish off. Next time I’m stripping it. I started with 80 and worked up to 220grit. I did do some more filling with the bondo glazing putty before my final 220 sand.
At the recommendation of my friend Christina of Phoenix Restoration (check out her blog!) I purchased a simple and inexpensive Critter Sprayer to prime pieces with. She let me practice at her workshop and it was easy to use and more cost effective than buying primer in spray cans. I used Zinsser BIN (shellac based primer) which can be sprayed un-thinned right out of the can. Simply hook it up to a compressor (mine runs through my filter) and set the regulator to 45-50 psi.
I did have to do some grain fill, mostly on the top of the dresser frame. This was because I went down to raw wood before priming and painting. Wood filler is all it needed. After it dried I sanded smooth with 220 grit sandpaper. Next I sprayed on the second coat of primer. I let the primer dry for 24 hours before a final sand with 320 grit sandpaper and a sanding block.
The Paint
I used Benjamin Moore’s Satin Impervo oil enamel for this project. This is my third piece using this paint, although only the second one to be posted. The first piece I posted in this paint is the Faux Bamboo Dresser. The first project was a test piece that I used a mis-tint on.
So far the finish on the dresser is the best I have been able to achieve with oil paint. And I have to say, it looks good! After my practice on the last pieces I was able to get the thinning and settings on my spray gun figured out. Read about the spray equipment I use here.
I was extremely happy with the finish after the first coat so I left it and let it cure for 48 hours giving it a light scuff with a super fine sanding sponge. A few little fuzzes landed in the finish and I just lightly sanded them out. It then went back into the booth for its second coat of paint. I also wipe pieces down with a tack cloth before spraying and also strain my paint before pouring it into my gun. to keep as many contaminant out of the finish as possible.
The Legs and Hardware
I stripped the legs twice and let them dry before sanding with 150 and 220 grit sandpaper. To get the wood tone to match the drawers I used Howard’s Restor-a-Finish in Walnut.
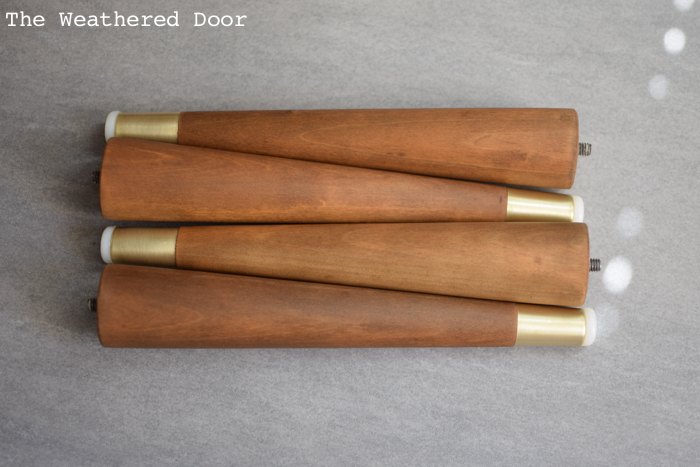
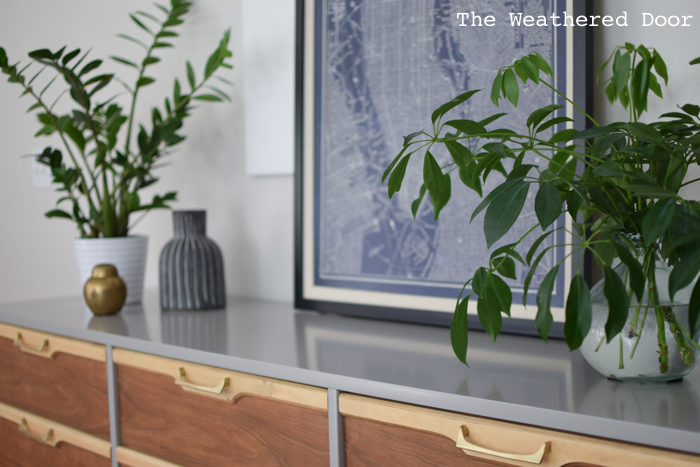
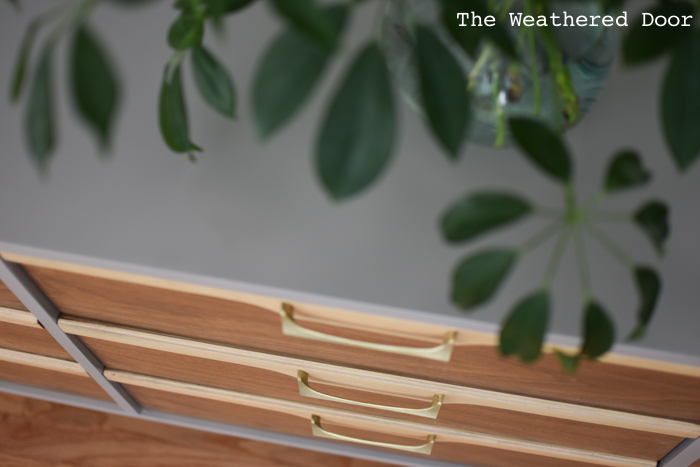
The brass caps on the legs and the brass pulls were stripped and then polished. I have a video tutorial and written post on the process here. They look so great with all the tarnish gone.
The second coat also came out looking great and so smooth! Here is the dresser in the gorgeous grey satin paint and natural wood drawers. Plus you really have to appreciate how the addition of legs change the look and functionality of the piece.

I have some more projects in the works. I’m also hoping to try out some more new-to-me paints so there will be posts discussing those as well.
-Reeves
Those drawers are to die for!! Gteat job!
Thank you! I went back and forth on painting the drawers but ultimately left them natural.
wow, that looks fantastic!
nice score on the walnut, the drawer fronts look super
This looks fantastic! Good choice on doing the two-toned drawers. I have also seen those legs in various sizes at my Ace Hardware. Kind of a random thing for them to carry, but a great resource if you ever need them.
Good to know, Liz. Thanks!
totally beautiful!
Hello Reeves – I have a question for you. I have a dresser that is very similar to yours above. Most of it is Formica and I am going to paint those parts, but the wood is on the legs, and on the drawer handles which span across the drawers like the one above, but with no metal “handle” it’s just the wood handle you pull on to open the drawers. Can you give me advice on the coloring? I could send a picture if that would help.
I am stuck and cannot decide on black, or white, or any other color. I need to move forward.
I think the black or white would look great. What matters is that you like it and it works with your existing decor. There’s no right answer to give because what I might choose may not be what’s best for you. Good luck with your project 🙂
I absolutely love this. I’m in the process of finishing a similar dresser and would love to use the gray BM paint. Do you recall what color it was?
Love the look and concept of adding the legs. I remember my cousin always doing this with beds and furniture. Although not as professional as you I have painted old dressers into my theme of black and white but not tried adding legs to some without. Love learning new things. Thank you.