A lot of people love the high gloss finish that is achievable with lacquer. I love it too… but admit that I don’t think it’s for everything. Plus, painting in high gloss is hard. Trying to get a perfectly smooth finish that doesn’t show imperfections or the terrible orange peel texture feels impossible to avoid. For some reason I decided to try lacquer for the first time, and try it in gloss. Satin would have been a better starting place 😉 But the results still look really great!
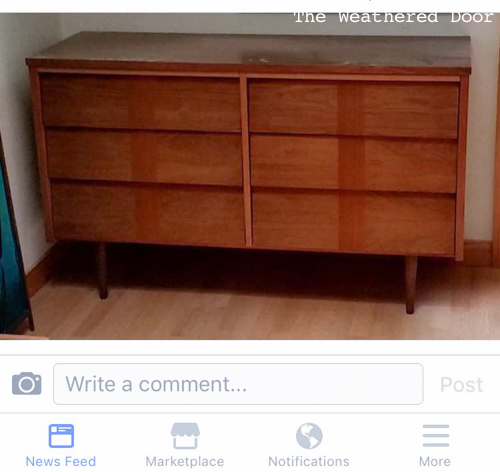
I purchased a gallon of lacquer from a paint store in a gorgeous warm grey color that I knew would be perfect for many different pieces. The first piece I started out with is a headboard I purchased and wanted to use in my room. That turned out pretty well. It’s not perfect, but it looks so good! I also snatched up a $15 dresser off of a local Buy-Sell-Trade Facebook group to practice painting. It’s not the highest quality (laminate top) and had a few problems I was able to fix with Bondo and Bondo glazing putty before painting.
Refreshing the Wood
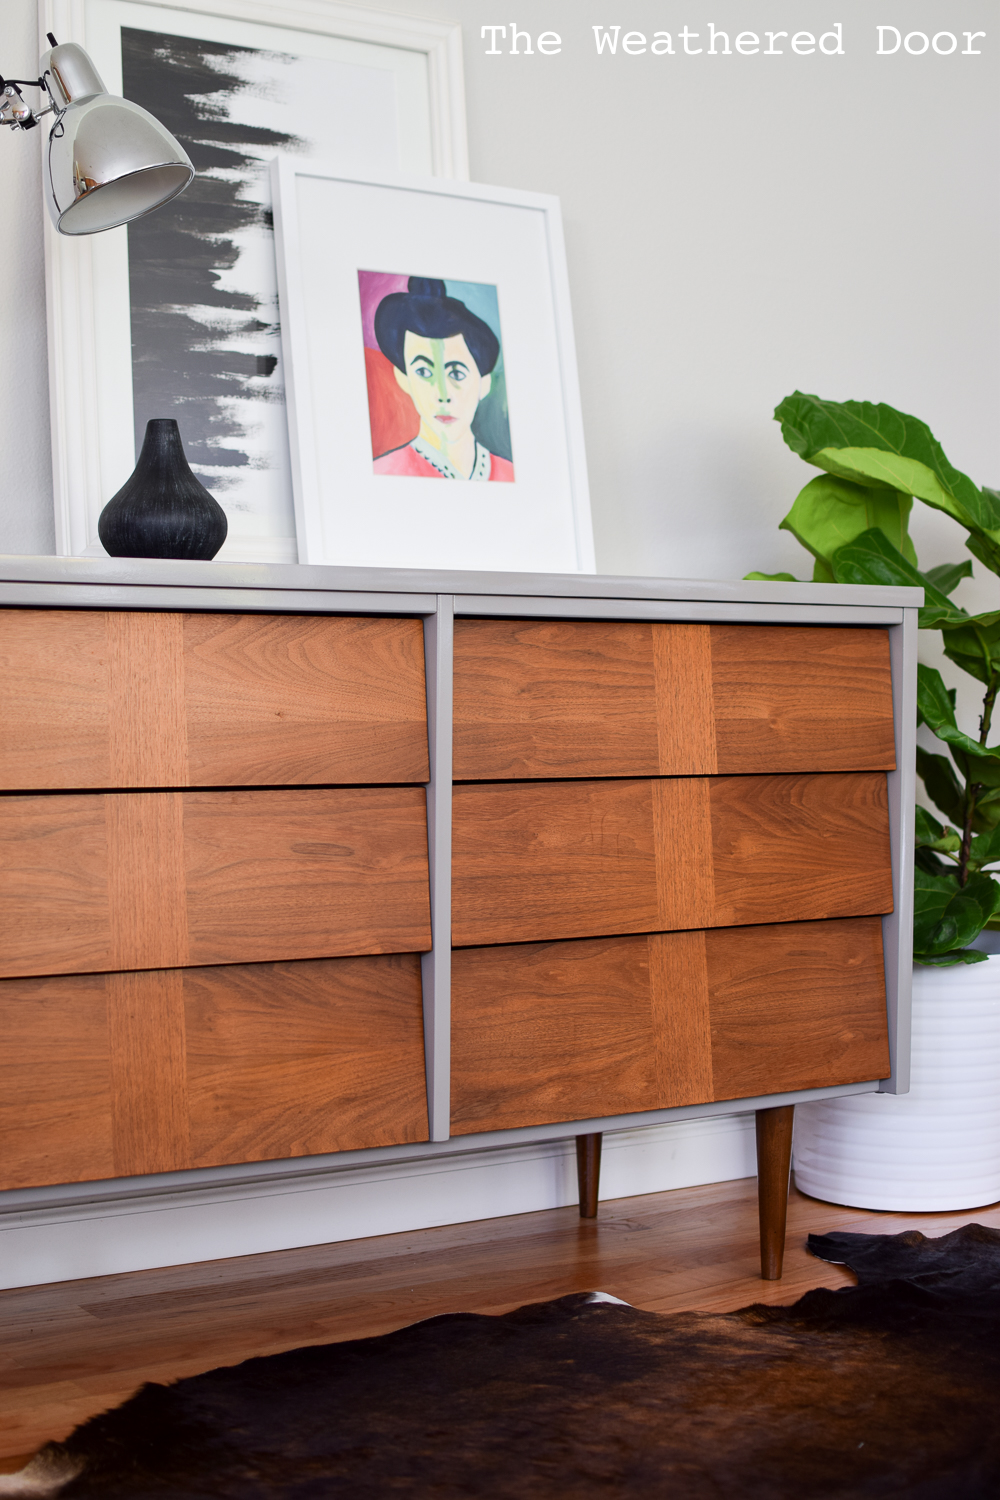
I normally refresh wood using my favorite gel stain (see a video tutorial here). The java stain I normally use does darken the color of the wood slightly and I didn’t want that for this piece. Instead I used Howard Restore-a-Finish in walnut. This product has a slight color to fill in dings or areas missing stain, but overall it doesn’t have much affect on the color. It just adds some shine and makes the little imperfections go away. I applied it with a paper towel to the drawers and legs. After waiting 20 minutes I wiped away the excess.
Lacquering the Frame
As I mentioned above I did some filling with Bondo on some larger chips and dings in the side of the dresser. I used my orbital sander to go over the finish before painting. The veneer on this piece is paper thin and the stain finish is the same. My sander started going through the stain right away which left me with lots of open grain. That is something I didn’t want coming through the high gloss lacquer so I used this glazing putty to fill the wood grain.
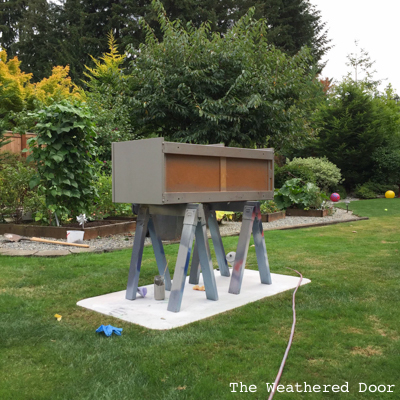
Next I sprayed on the lacquer. I used 3 coats total. The hardest part was the top since it is the longest surface. The lacquer would dry before I could even finish spraying the top which meant an uneven sheen and textured overspray on the parts already dry. It left that really gritty feeling. NOT something I want. I was able to get a really great finish on every other area (sides and cross bars) so I left the top textured and planned to try again a later.
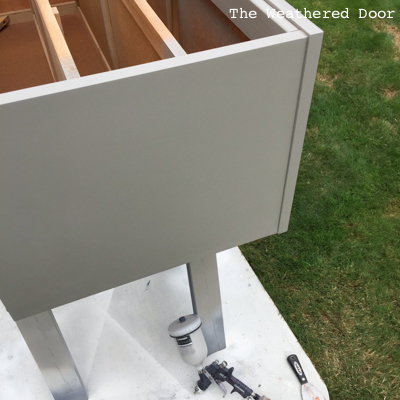
It took a few weeks to have a day off of work that lined up with good weather. That finally happened this weekend and on Saturday I taped off and cover all parts of the dresser except the top. Before lacquering I used my orbital sander and 800 grit sandpaper (I bought on Amazon here) to smooth out the finish and get rid of the texture. Next I wiped it down with a damp cloth, let it dry, and then used a tack cloth.
Once the surface was clean I sprayed on 2 more layers of lacquer working from side to side. The cooler October weather in Seattle helped the lacquer not dry as fast. I also changed some settings on my gun this time around which I think helped make sure there was enough paint to keep a wet edge (without drips). I ended up with a really great finish that is nice and glossy!
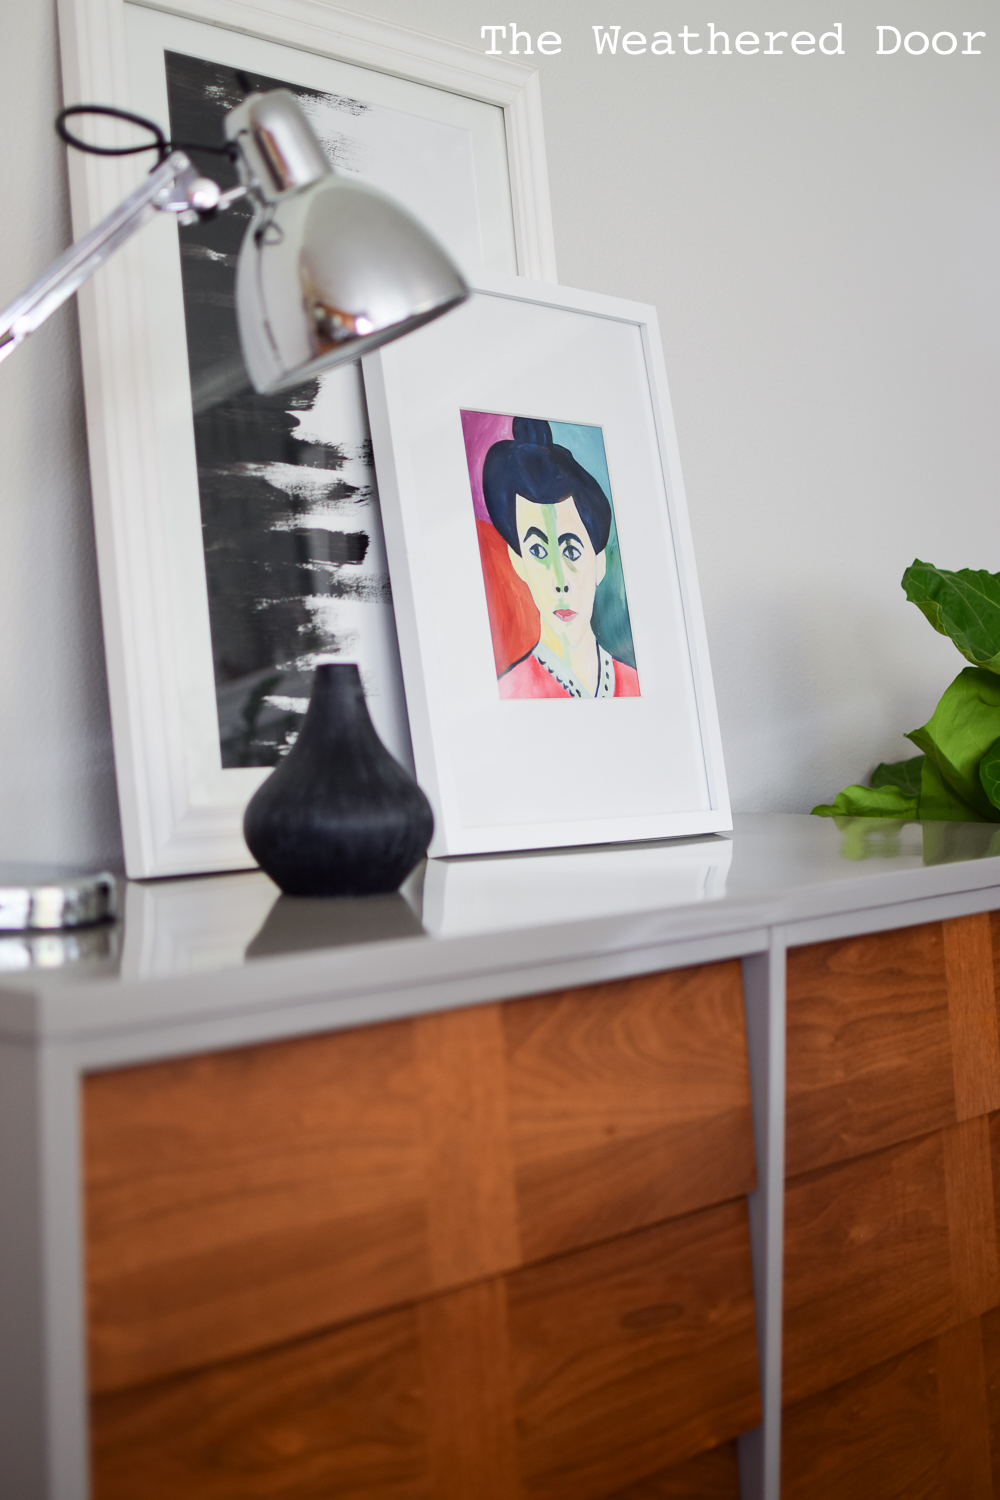
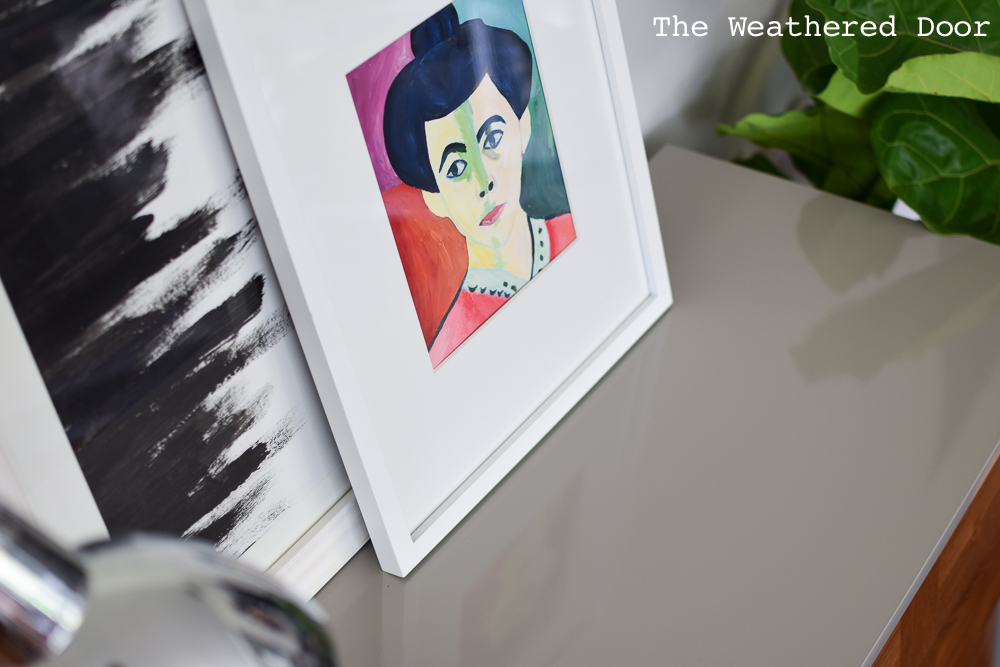
Here’s the dresser all finished. I really love this color. The grey and brown in it make it so rich looking.
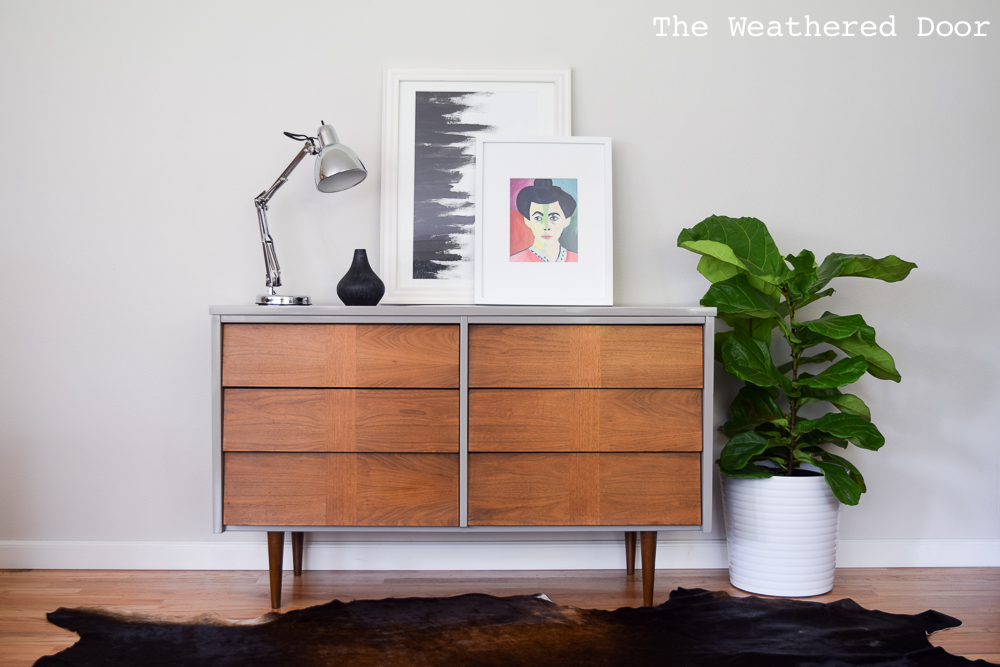
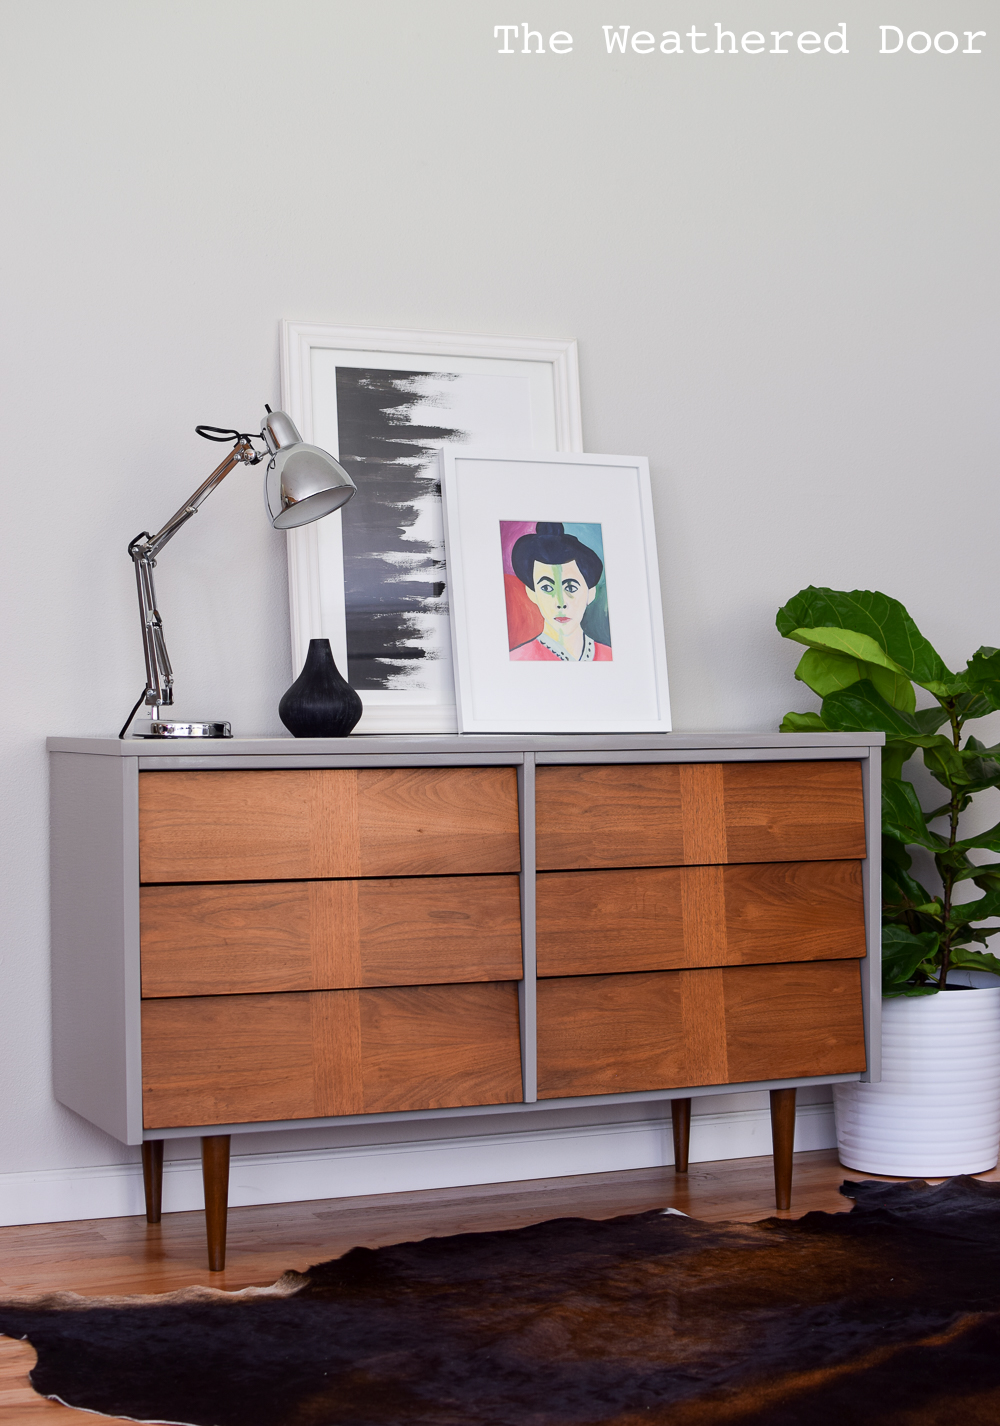
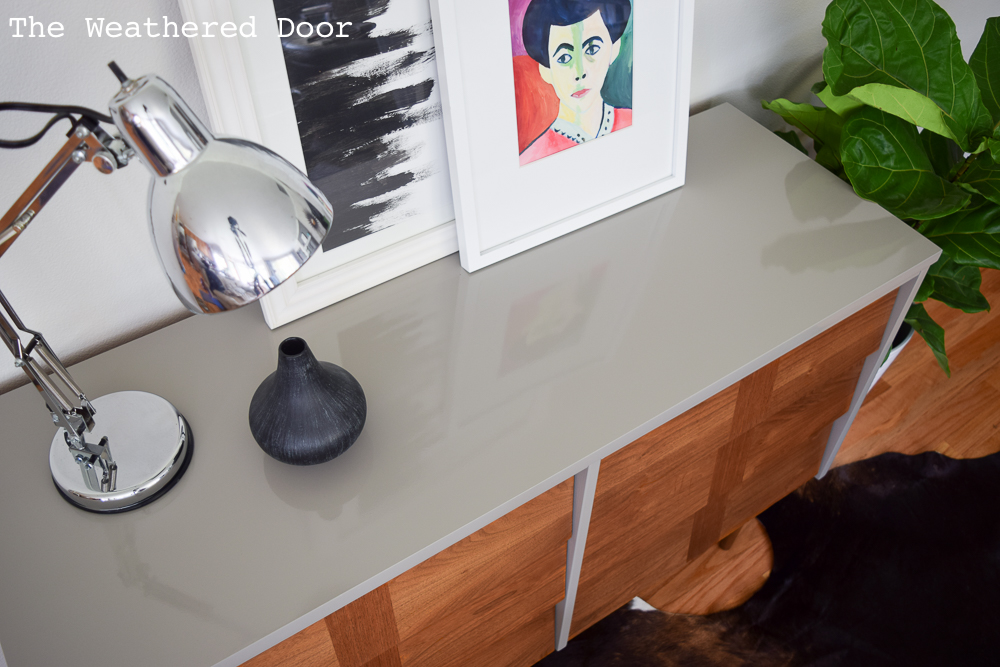
The photo above and below show the richness of the color. And that reflective shine 🙂
I was happily surprised with how this dresser came out and I’m excited to complete more lacquered projects.
Until next time,
-Reeves
Disclosure: This post contains affiliate links.
Very nice! I have yet to work with lacquered finishes but someday!
It turned out beautiful! I wish I could buy it somewhere for my own place. Thanks for sharing your struggles with the project and how you fixed them. I always feel a bit overwhelmed seeing big projects that seem to go perfectly on the first try. Like there is no way I could also pull that off.
http://classicsidewalk.com
I have a project coming up where i have to coat 5 4×8 panels with high gloss. I’m considering lacquer but it will be my first time. What kind of lacquer did you use?
I used a pre-catalyzed lacquer
What brand/ color was that?
I love it – and the art work you placed on it!
Thanks, Sheila!
Where did you buy lacquer?
You are talented and I love this dresser. What did you do with this did you sale it?
Thanks, Tammy! Yes, I did sell this piece after I finished it.
I know this is an old post, but I am curious as to the brand of lacquer used just like several others who commented asking the same thing but never received a response.
Several have asked, and I am curious too as to what brand of lacquer you used and how it was applied.
Can you please share.
Thank you.
I used a valspar pre-cat lacquer purchased from a local paint company