Hello, friends! I’m working on a fun little project featuring a geometric design right now. Something that I always strive to do it paint perfectly clean lines. This little trick has saved me so much frustration when I’m adding a design to a piece of furniture. It’s never fun the paint bleeds under the tape and ruins the design.
I’ve previously written a step-by-step tutorial on how to paint perfectly clean lines. You can read that here. While working on my most recent project I filmed a short video to demonstrate this simple process. Here is how you get those crisp lines!
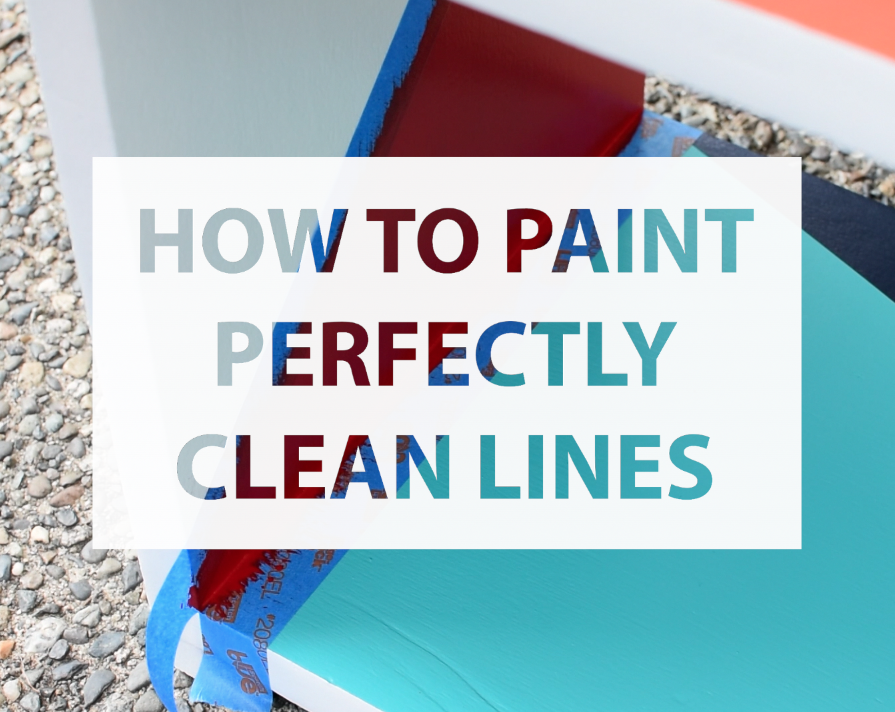
How to Paint Perfectly Clean Lines
- Measure and tape design or area to be painted. For freshly finished surfaces, use delicate tape.
- Seal the edge of the tape by pressing down firmly with finger.
- Brush on a thin coat of water-based topcoat. Brush it against the edge of the tape to seal it. If any gets under, it’s clear! I prefer using General Finishes high performance topcoats.
- Apply paint. Paint on as many coats as desired. I use 2-3 coats depending on color and pigmentation. For this project I used General Finishes milk paints. Let fully dry between coats. Reminder: paint with the grain of the wood.
- Once dry, peel off the tape to reveal perfectly clean lines.
I use this technique when adding designs onto furniture. It does work for other projects, too. If I a have a surface already finished and painted where I’m adding a simple stripe or outline like I did on this lavender dresser, I use the base color to seal the tape. Whether it’s the base color or a clear water-based topcoat, both finishes with seal the edge of the tape and create a crisp line.
To see all of the geometric projects I have done, click here. Stay up to date with my projects by following along on Instagram. I have some furniture pieces and painting posts in the works.
-Reeves
Great tips! I’m happy to tackle more projects now. Thanks for the awesome share!
Thanks, Shelly!
Genius. Just got perfectly straight lines after priming and baseboards with shellac primer and BM Advance. I’ll be using this method from now on. Thanks!
Yay! Glad to hear this works for you, too!